![]()
Weeks #12, 13, 14 & 15
Welcome back!
We are moving into the final phases of our course!
This post covers the dates of -> 4/22, 4/29, 5/6 & 5/13 (Final presentations day)
****We will have our final presentations on Monday 5/13 – @2pm – 4pm students will share a presentation of all of their completed work – we will go over how to create a PDF portfolio using adobe Illustrator. If you have another final exam scheduled on this day at the same time – please contact me and let me know – we can set up an alt. day or present the week before on 5/6****
Let’s talk about our next assignment, Assignment #4 – this will be the last assignment for the semester, however, we will also be creating a presentation and submitting a final portfolio of our completed work on the day of our final exam meeting time on 5/13. (I will share a demonstration on how to do this next week).
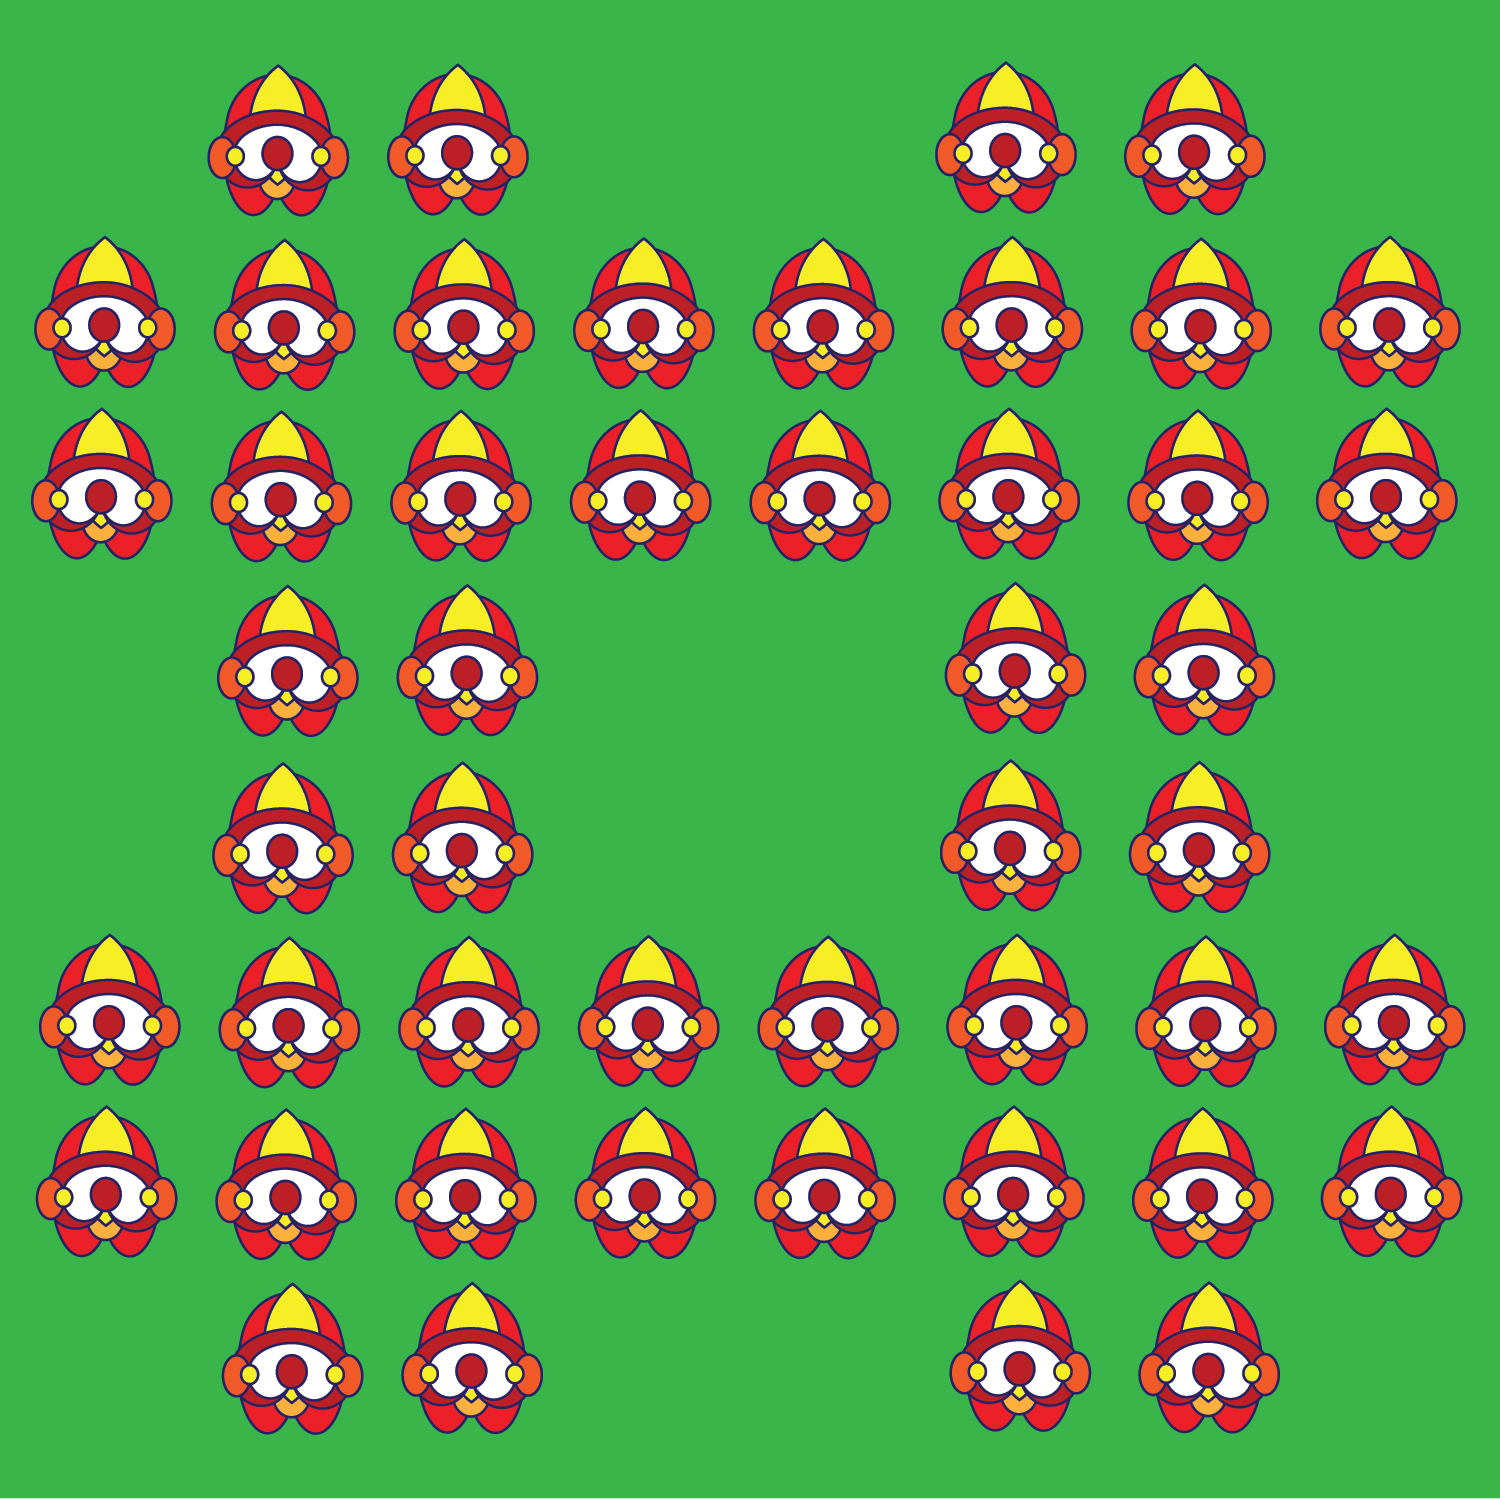
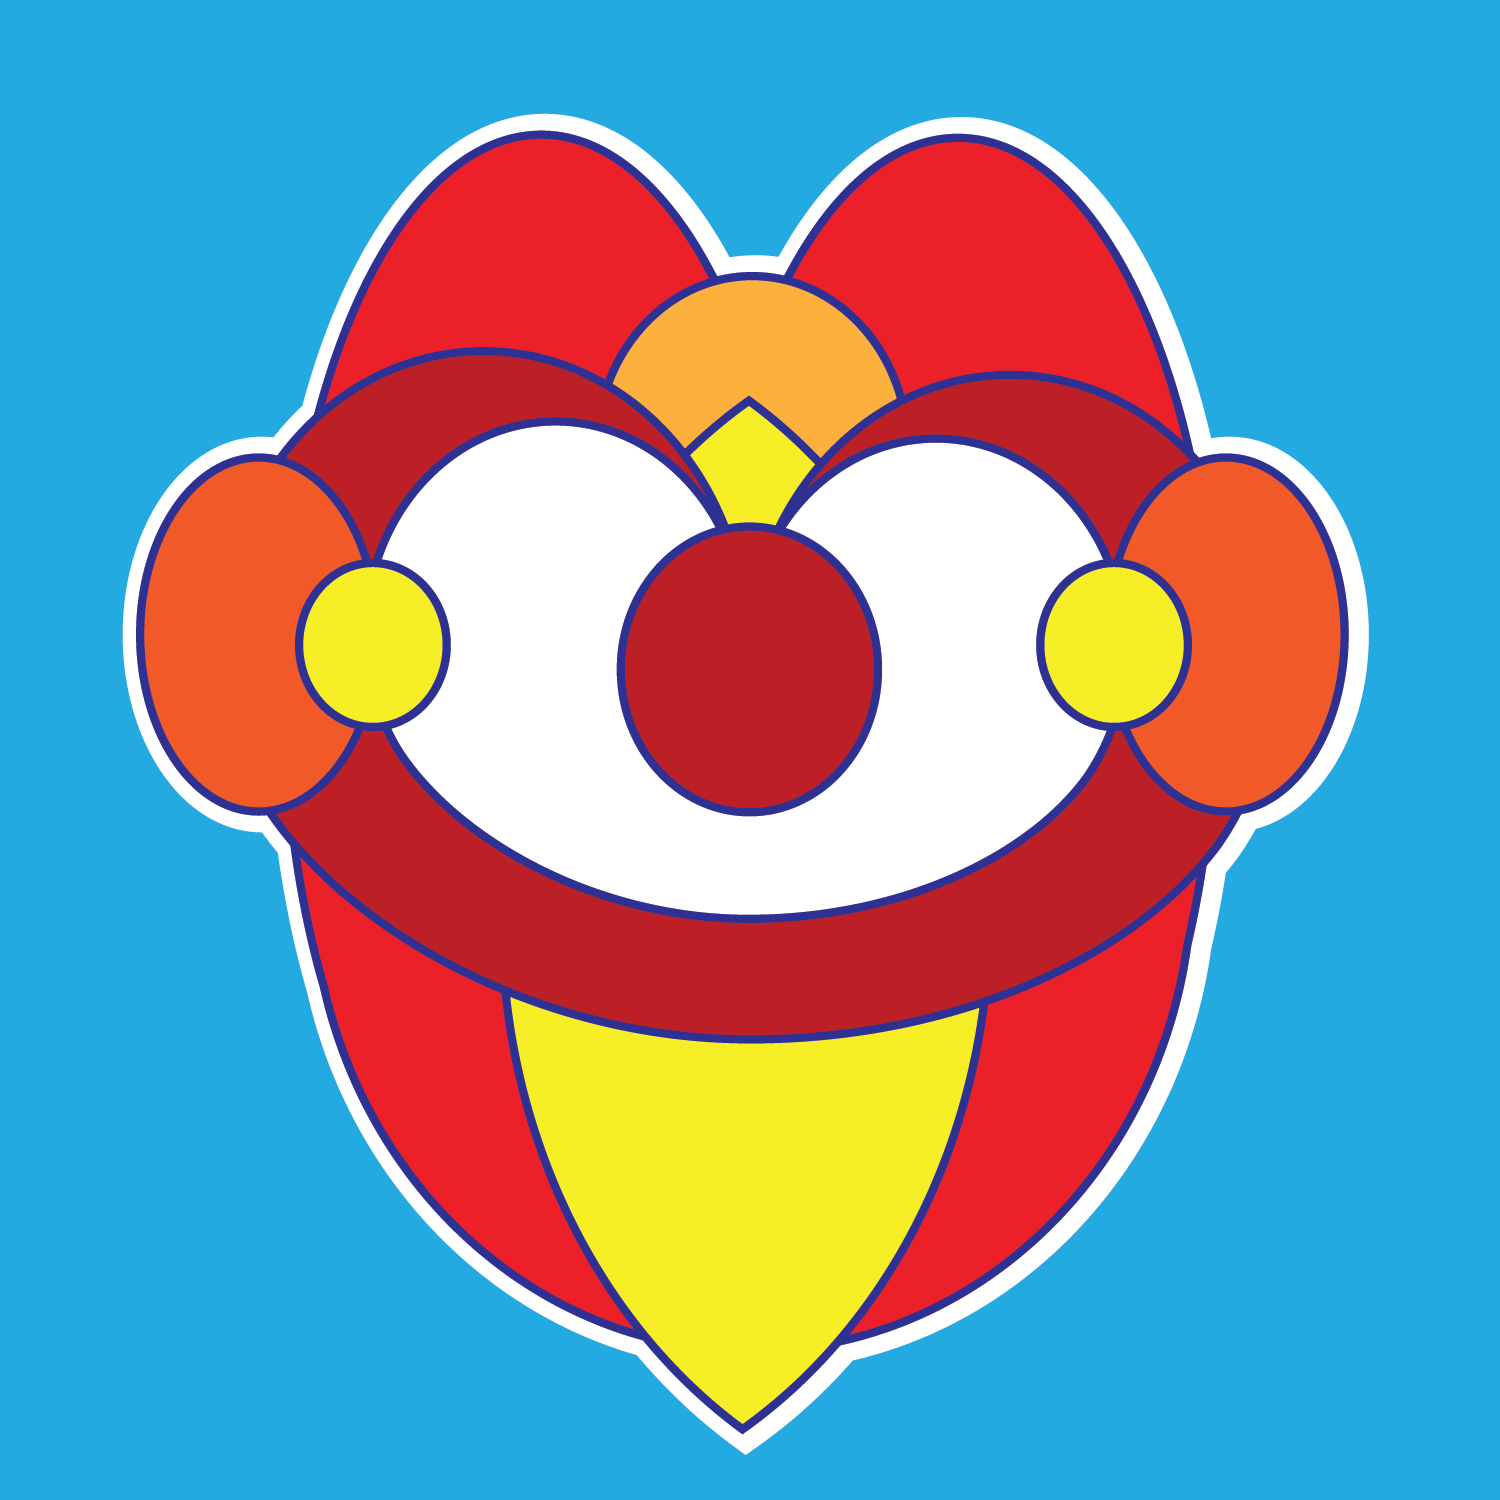
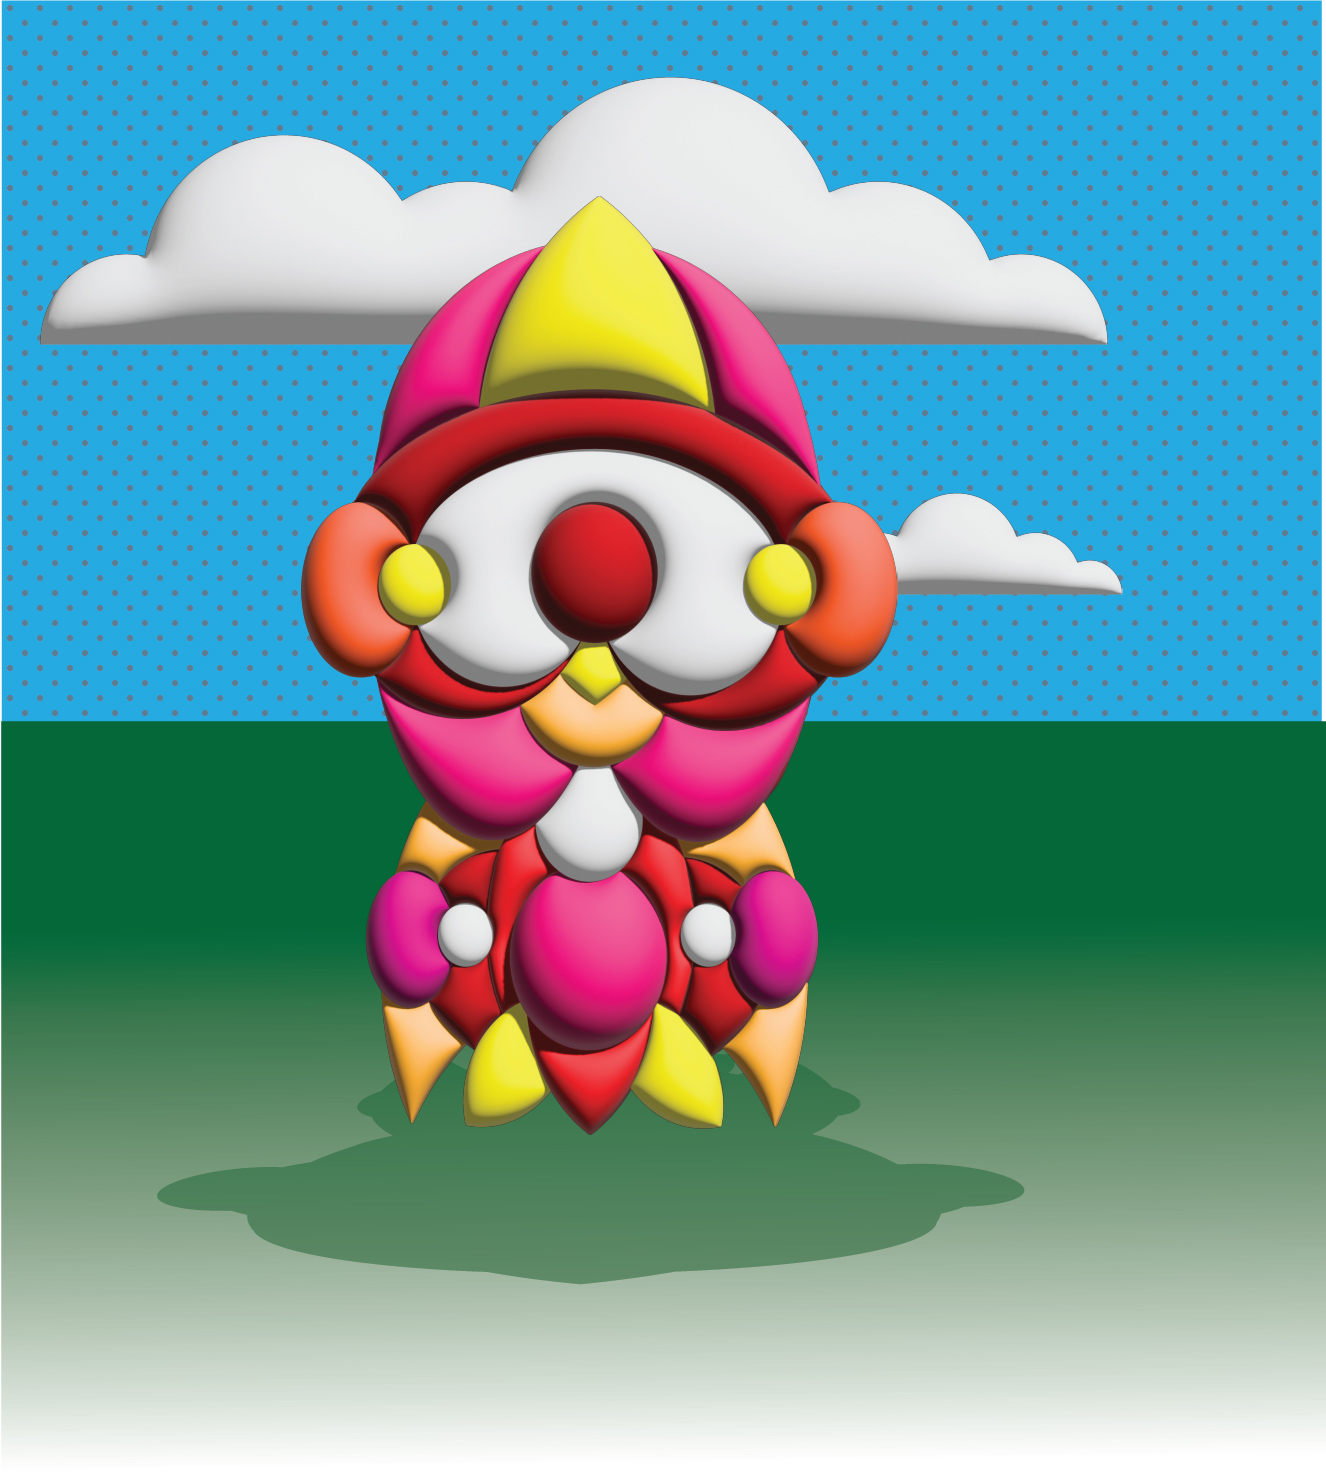
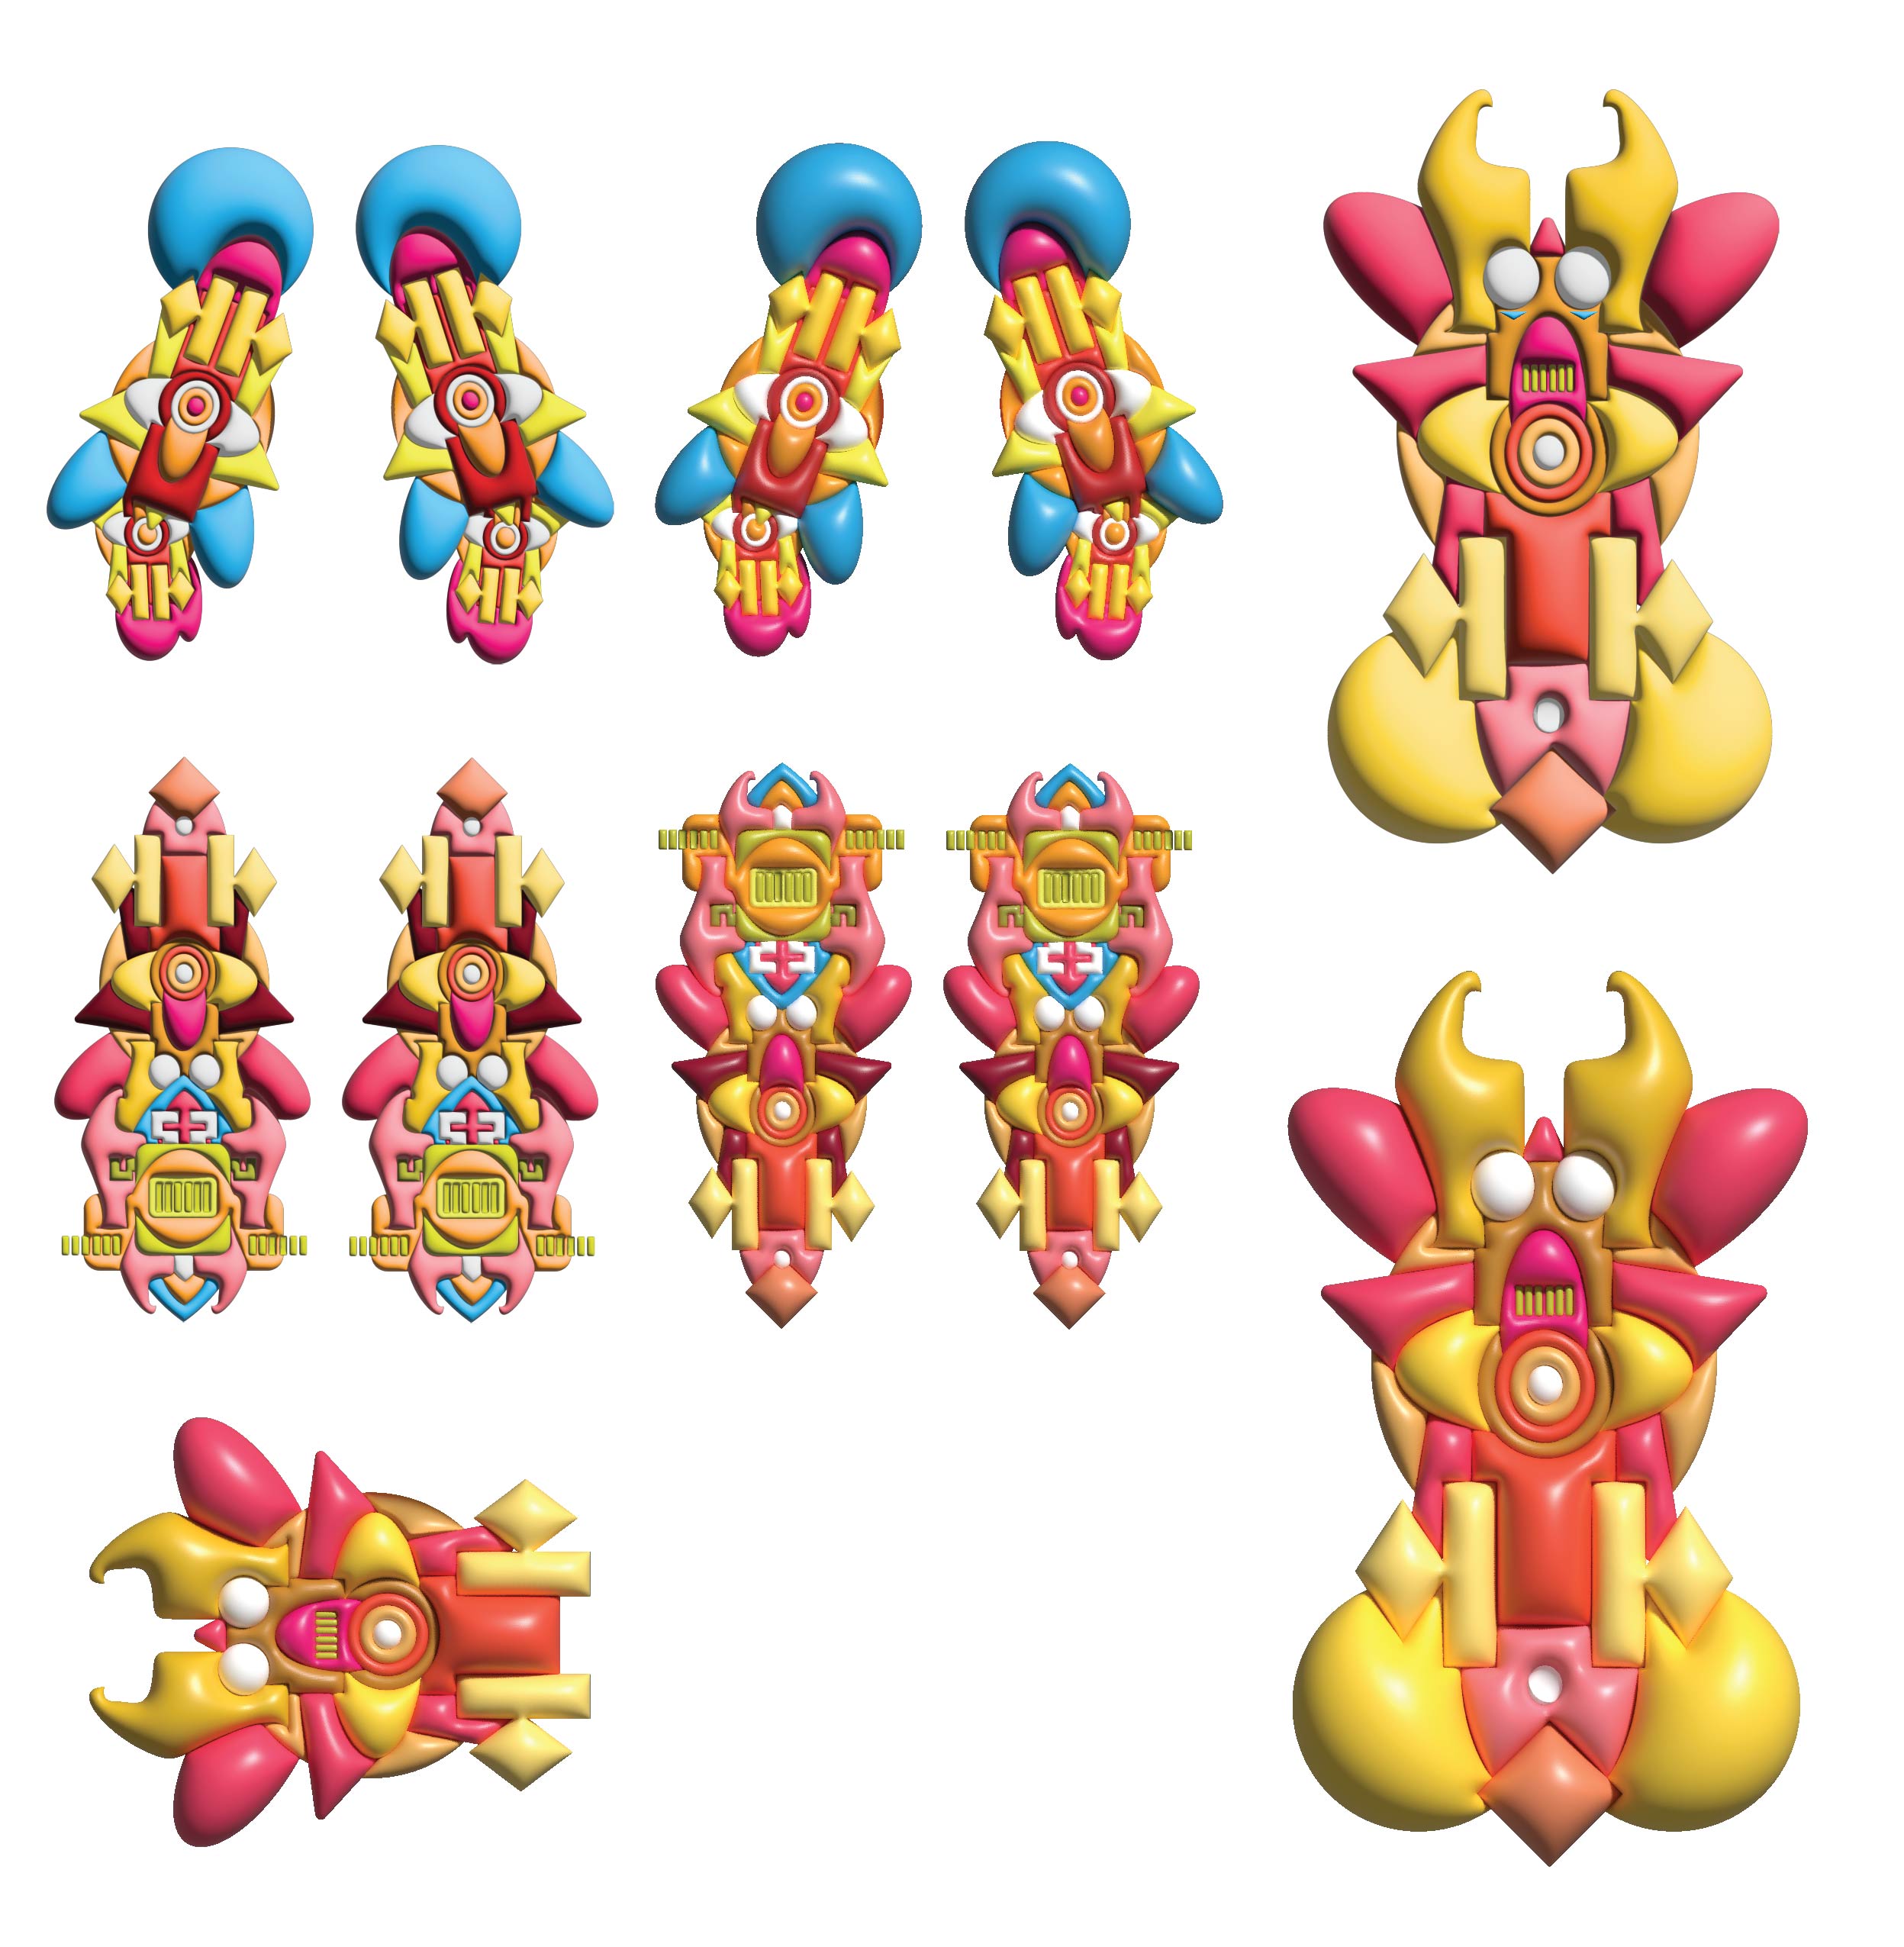
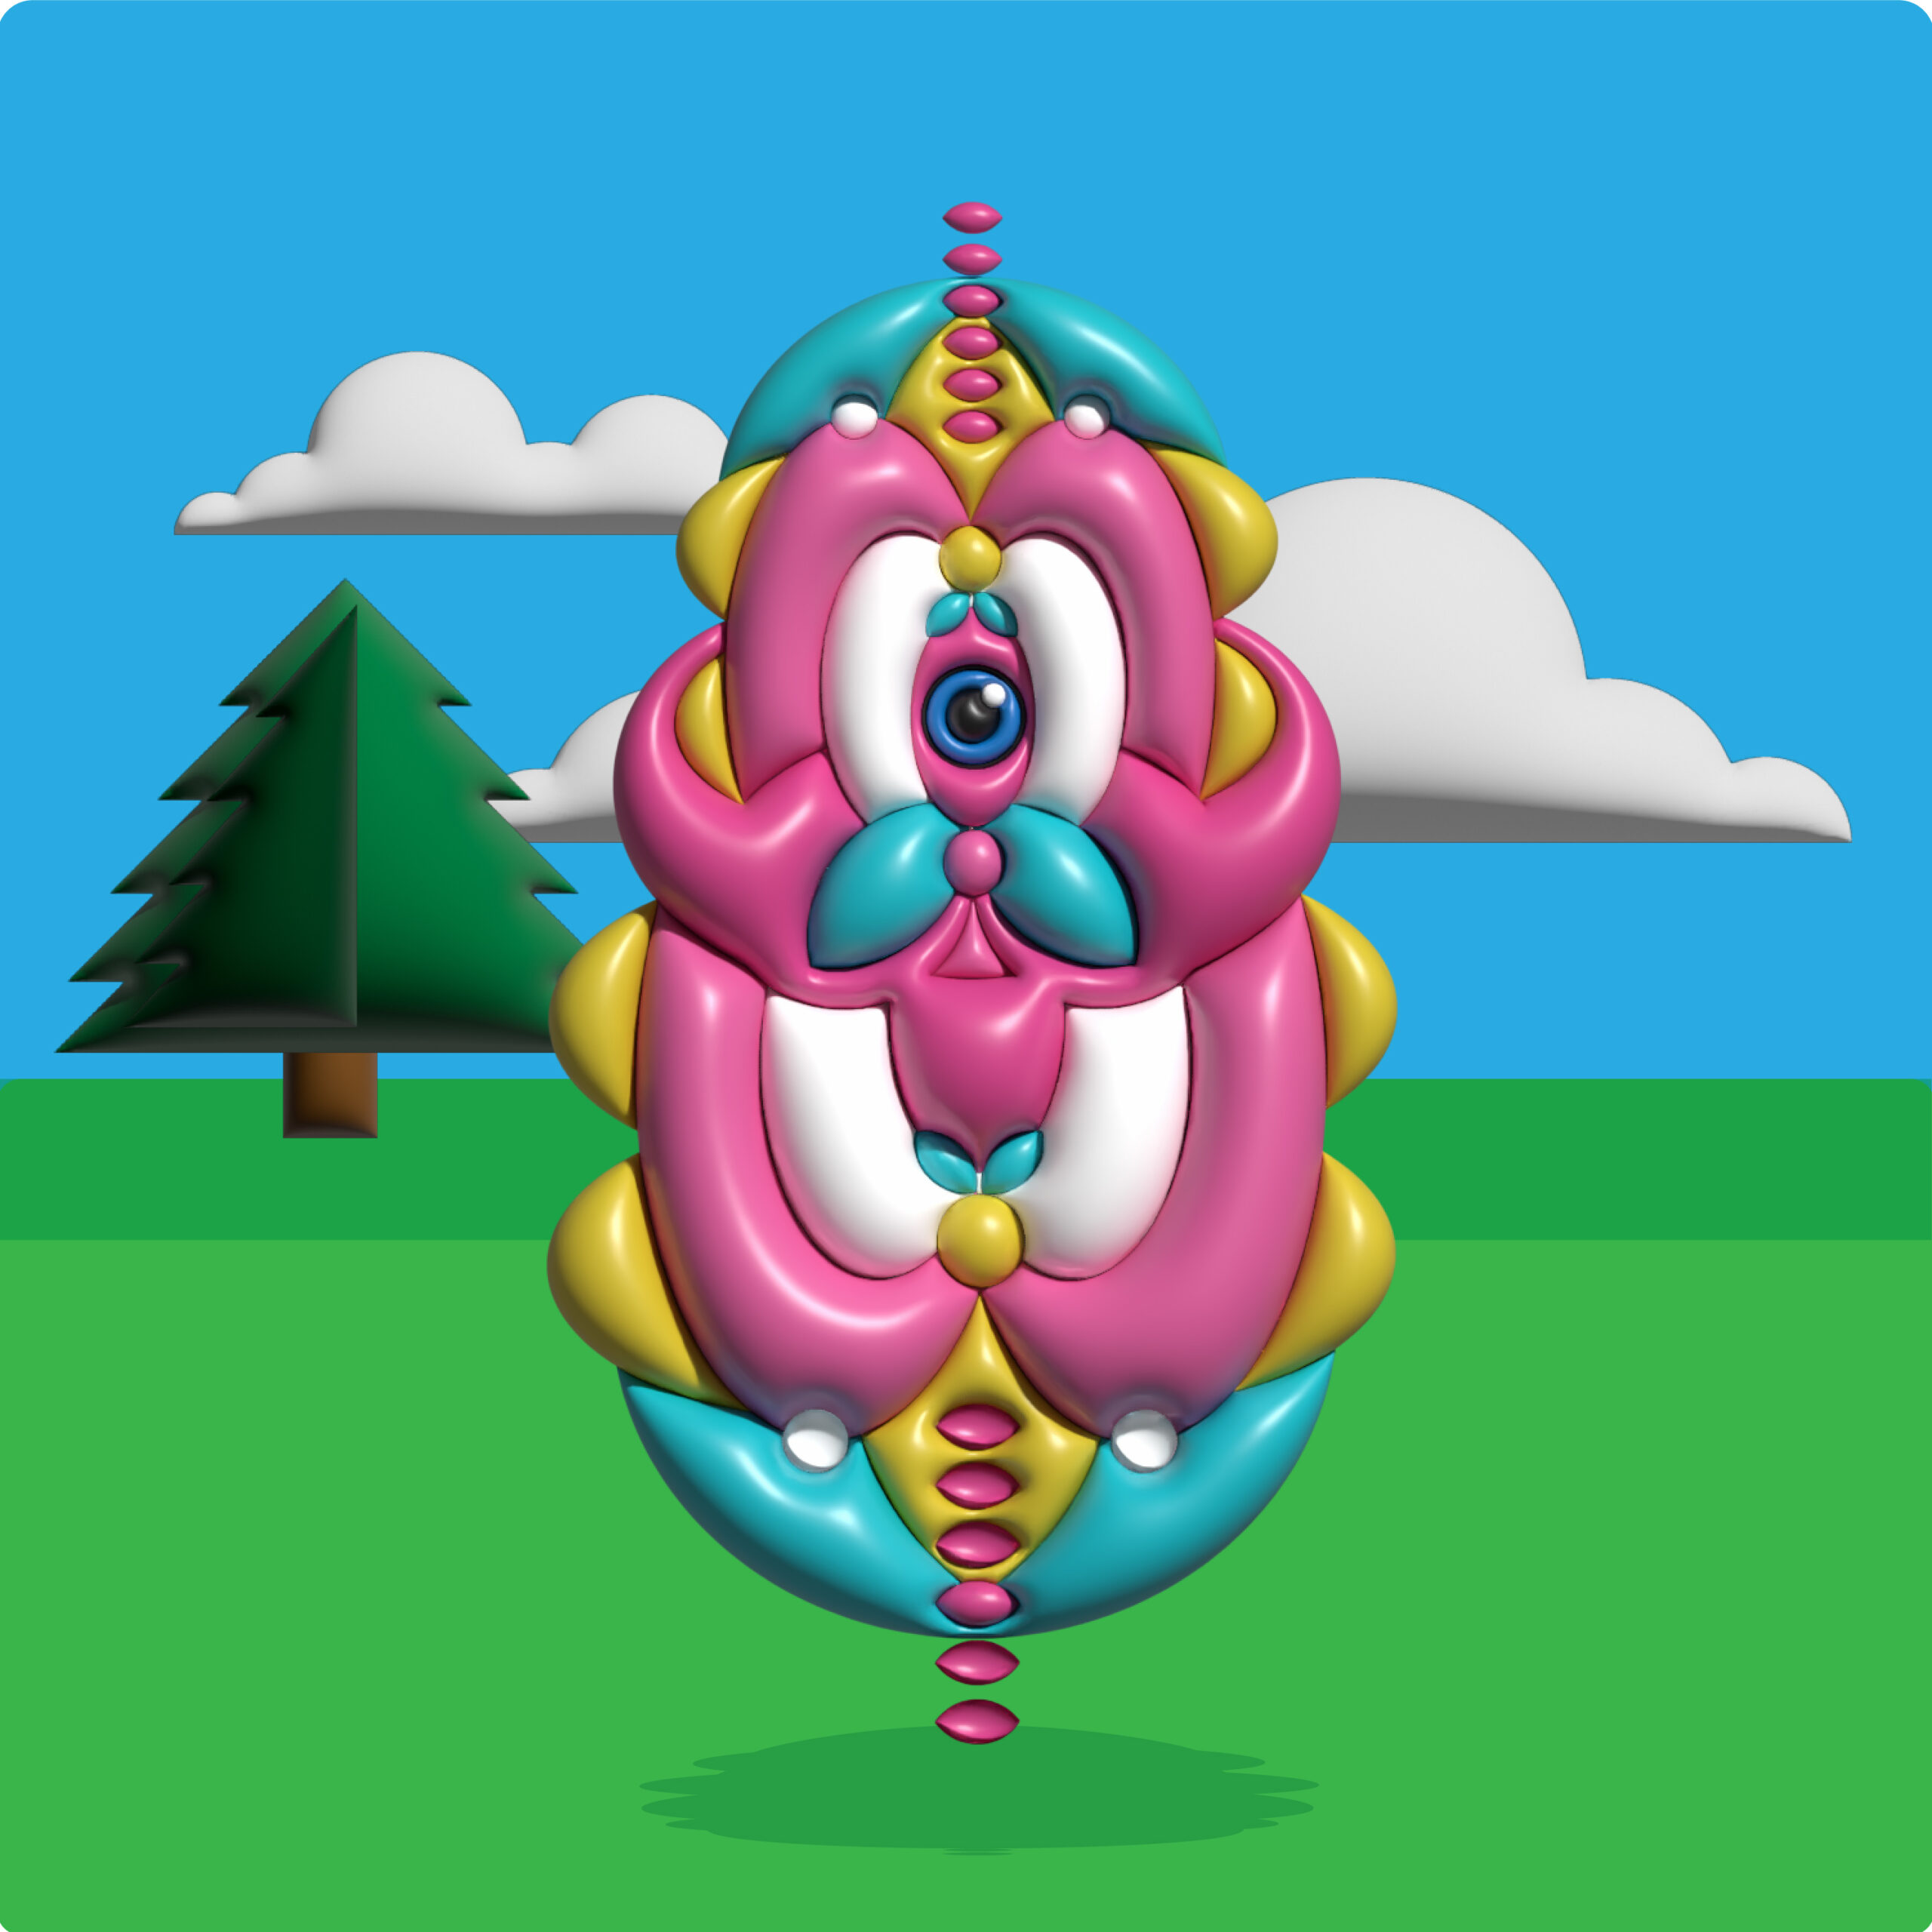
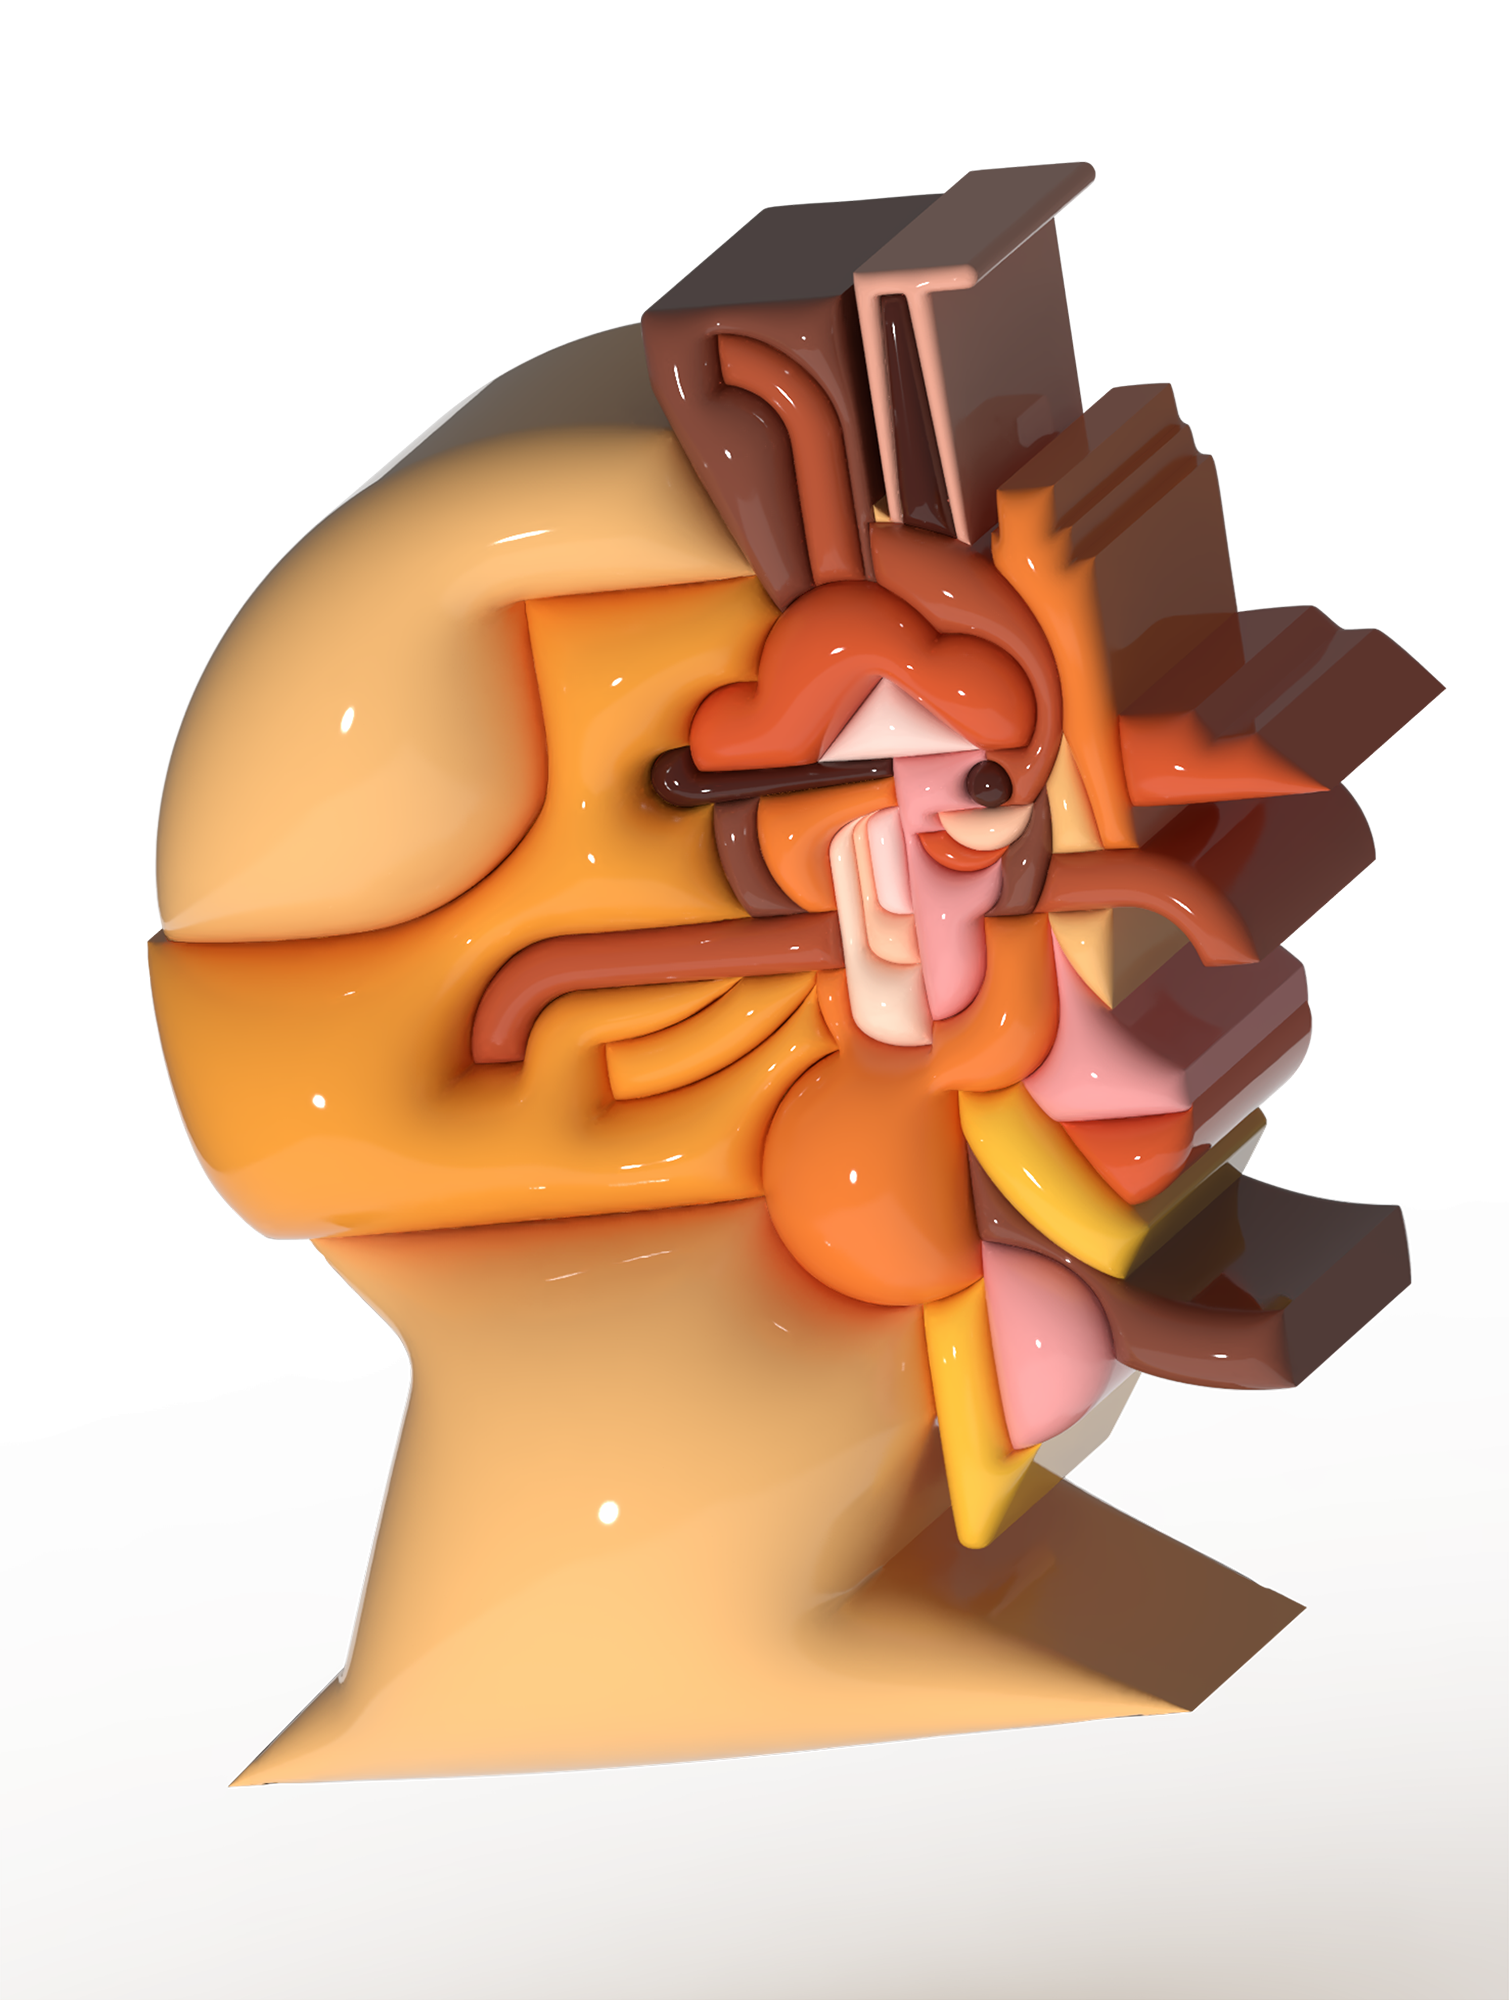
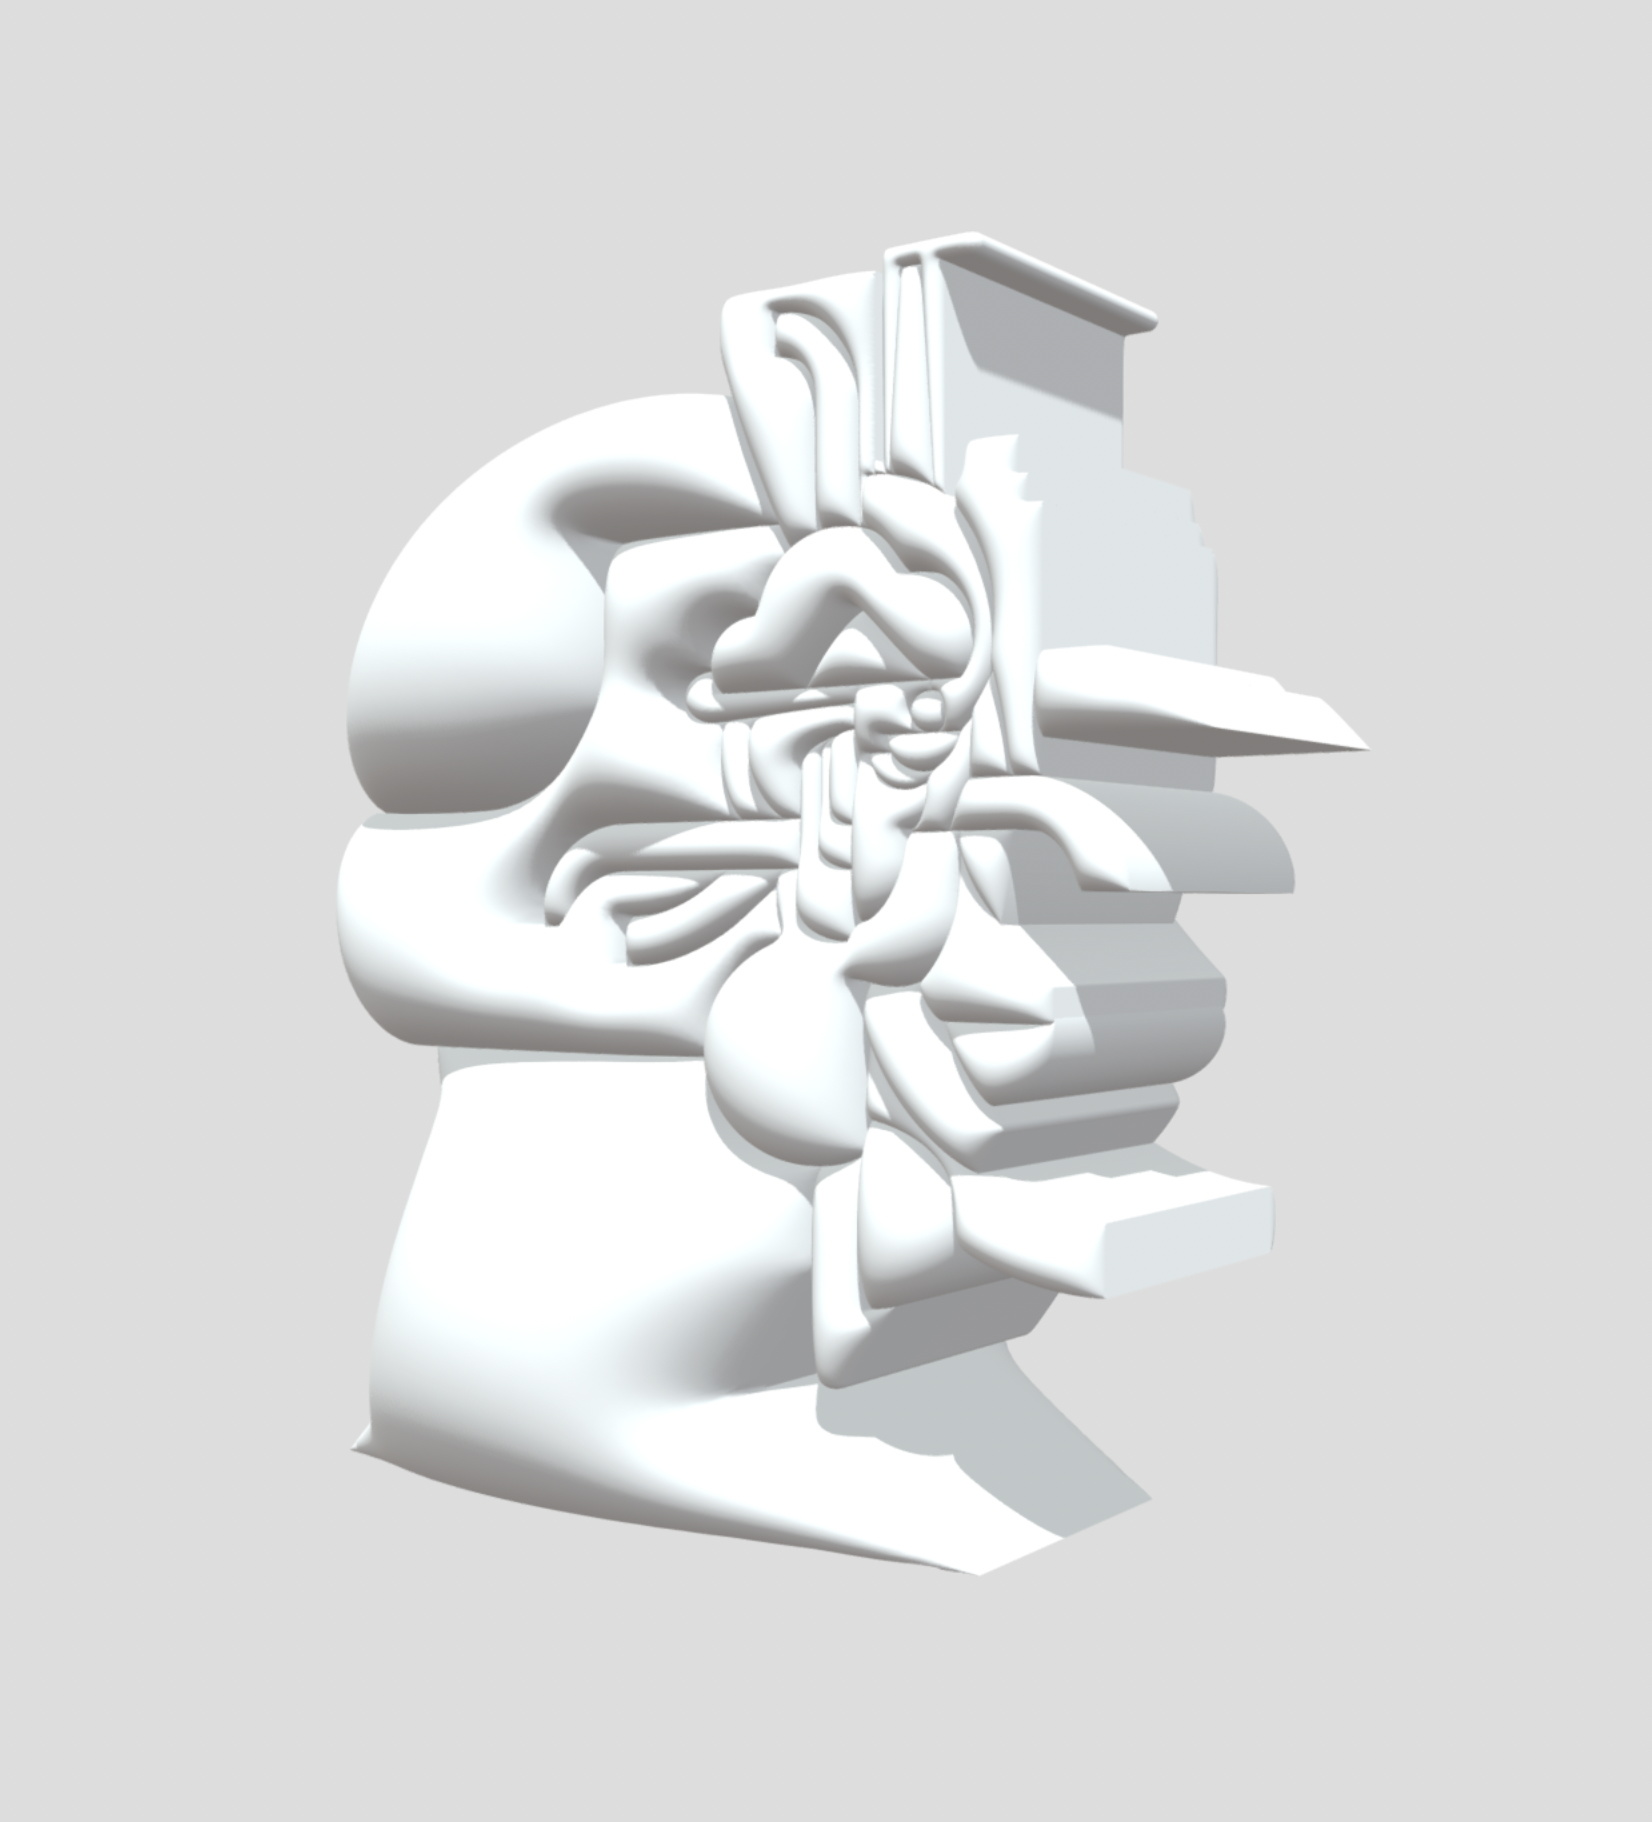
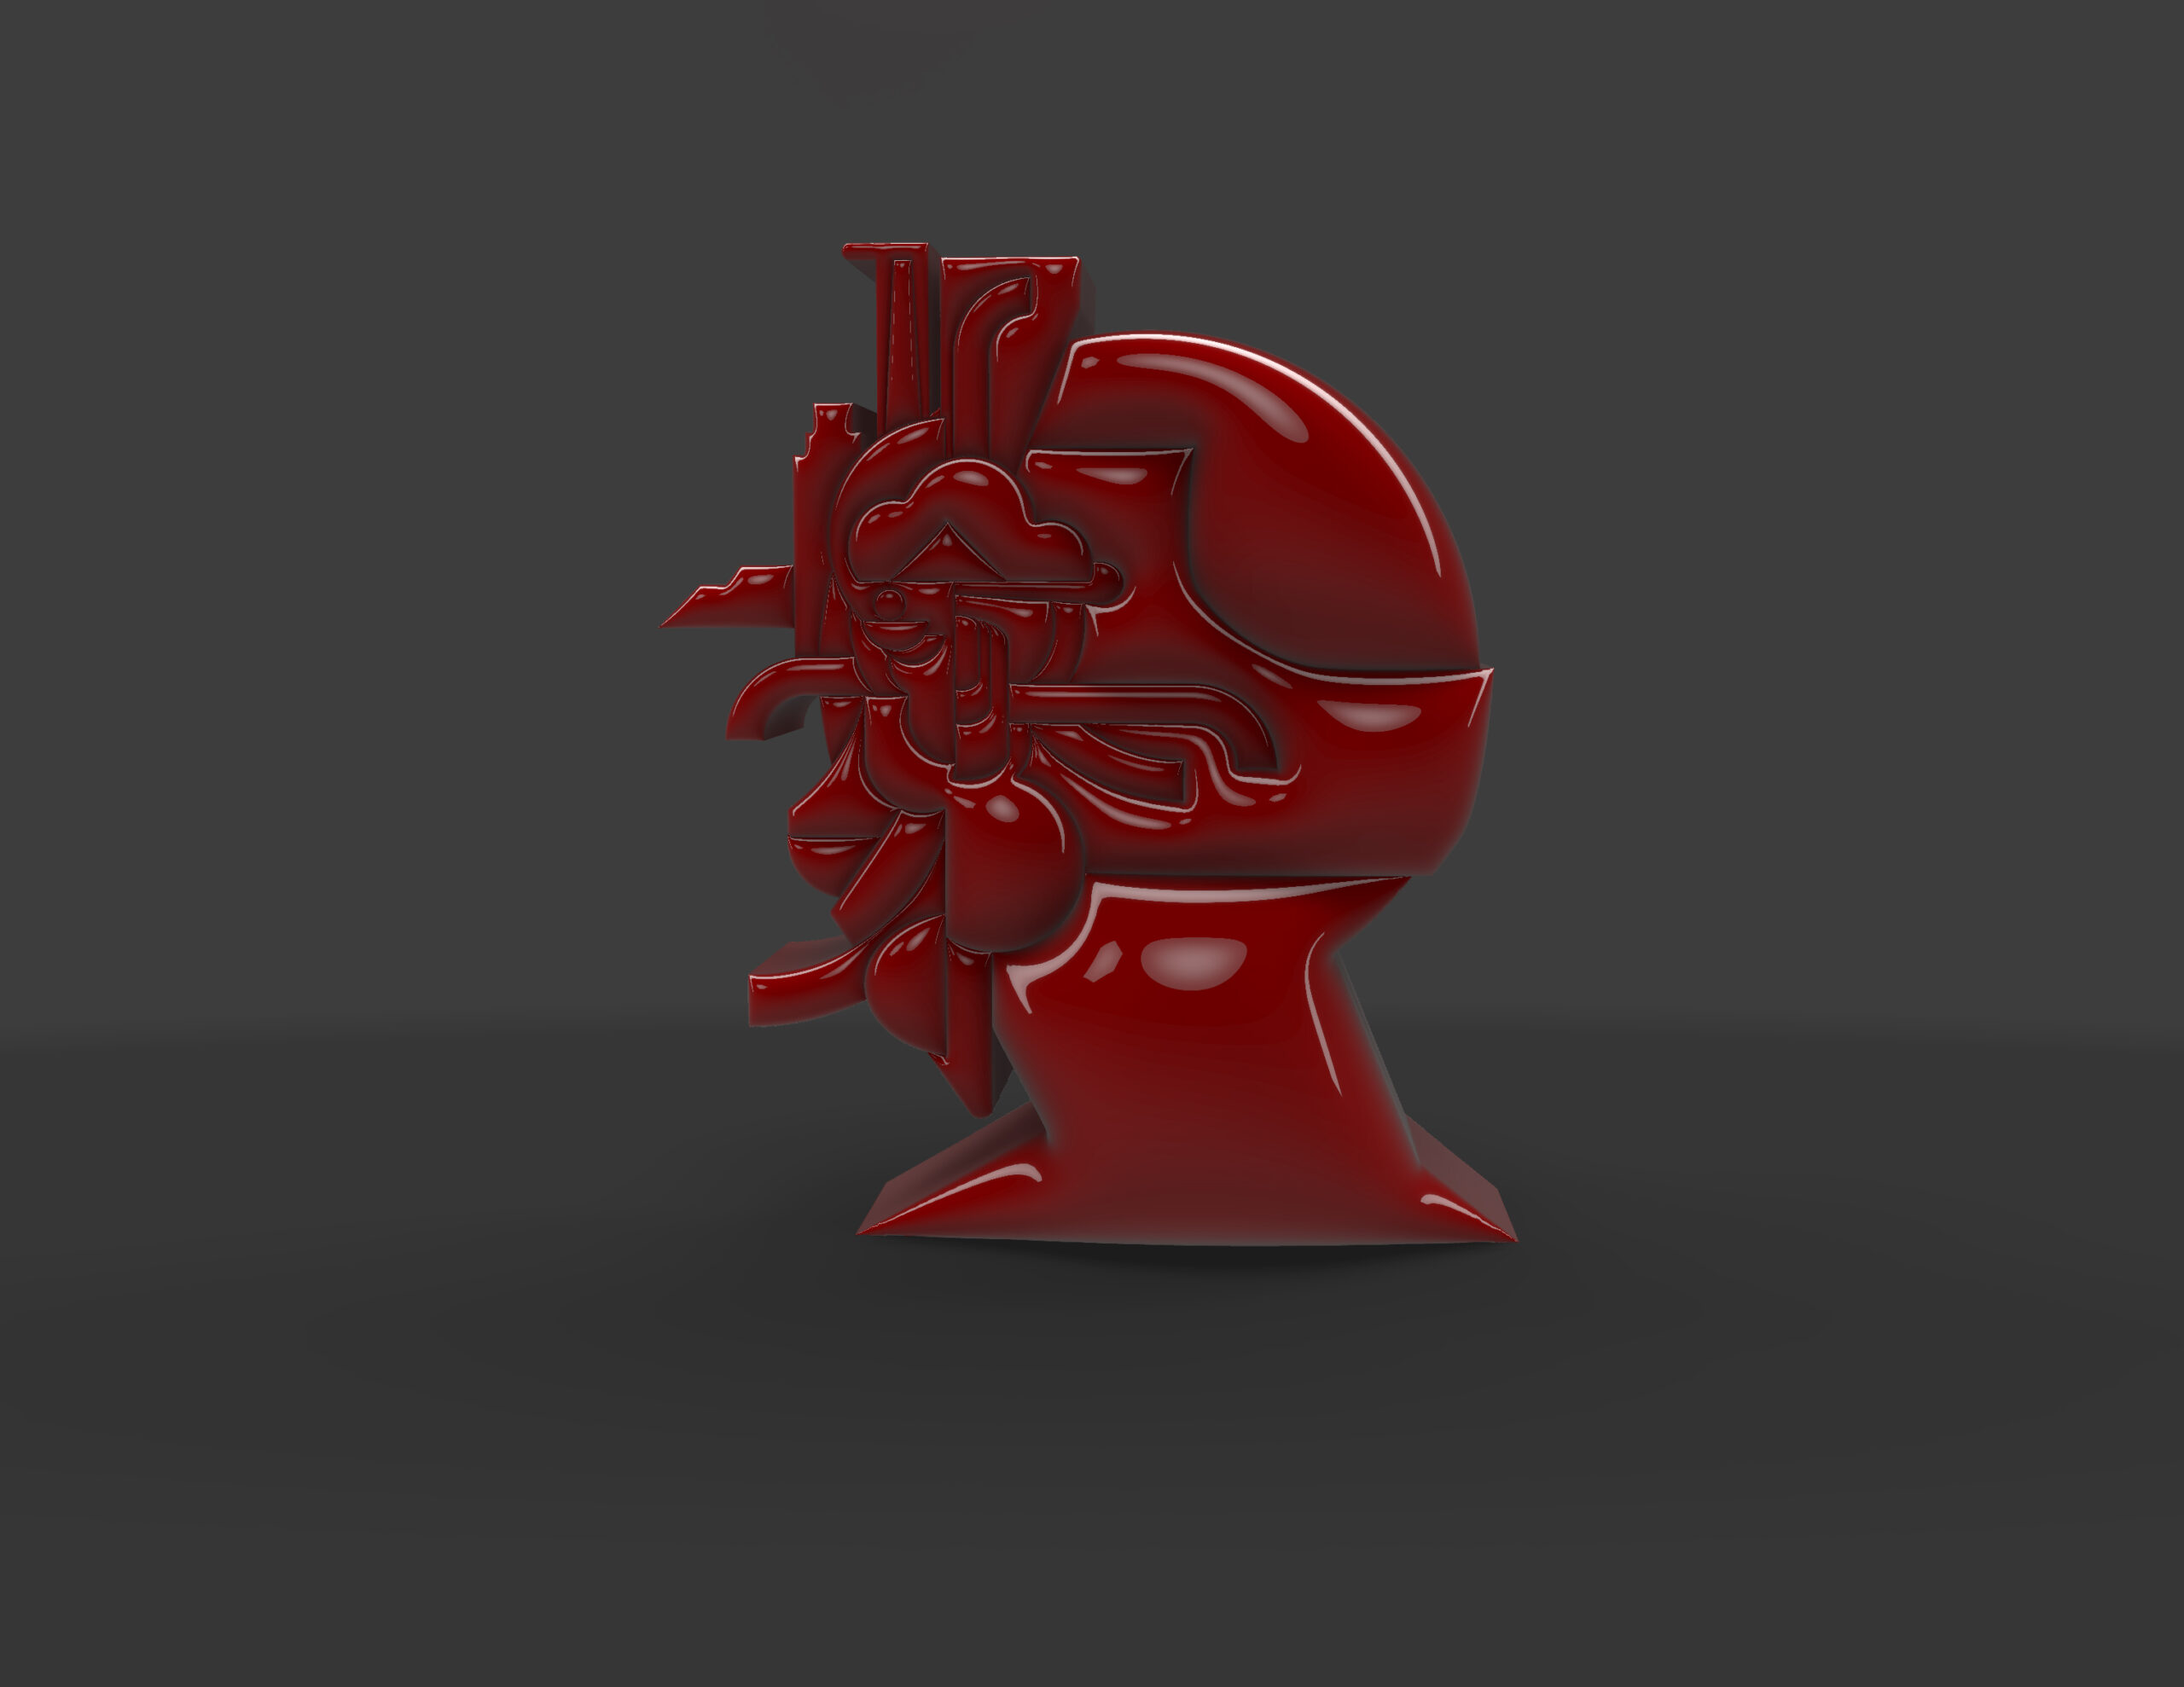
Examples below:
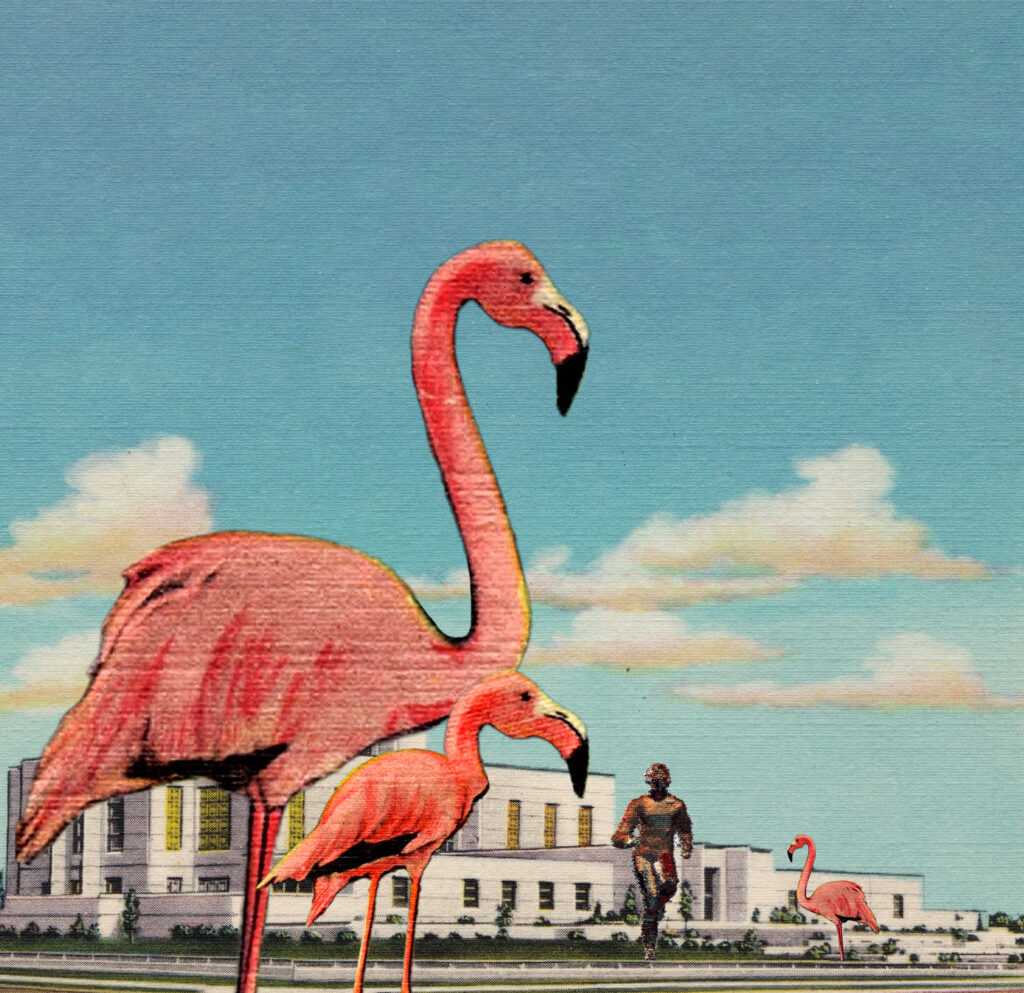
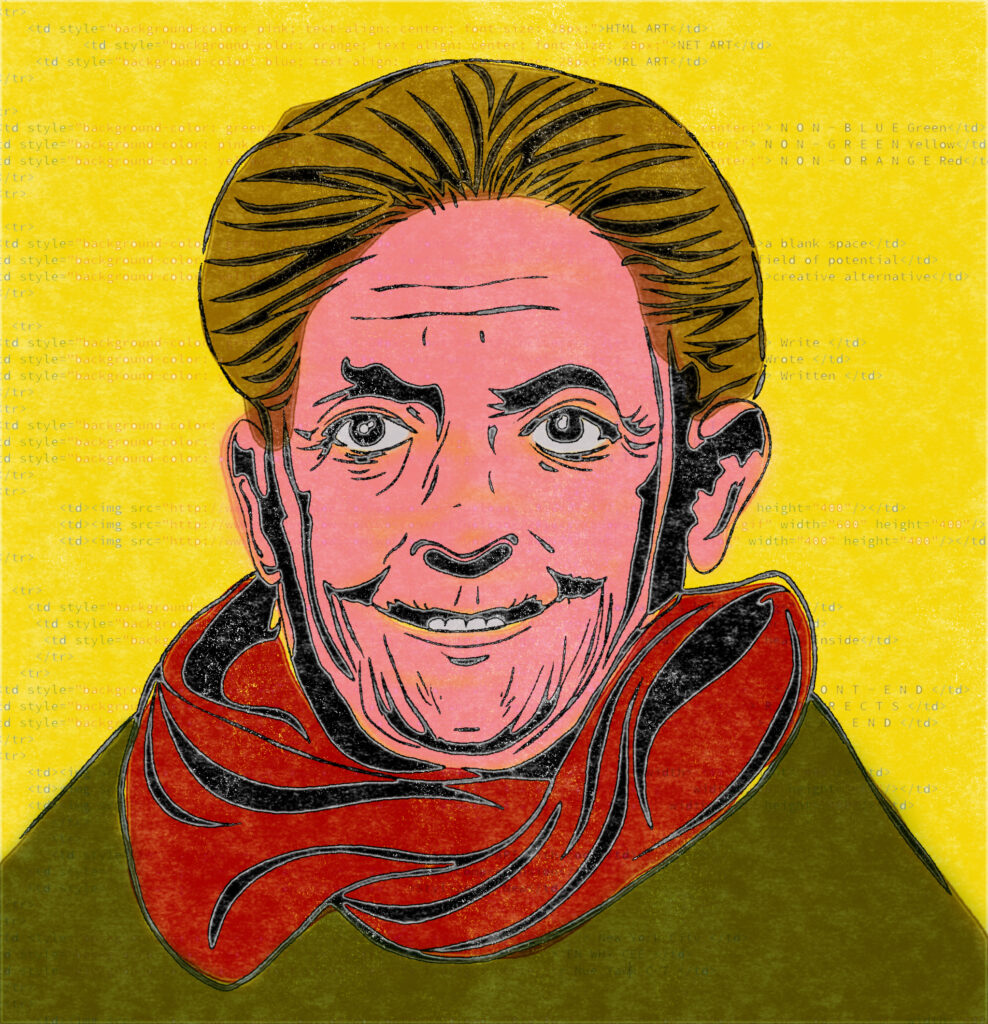
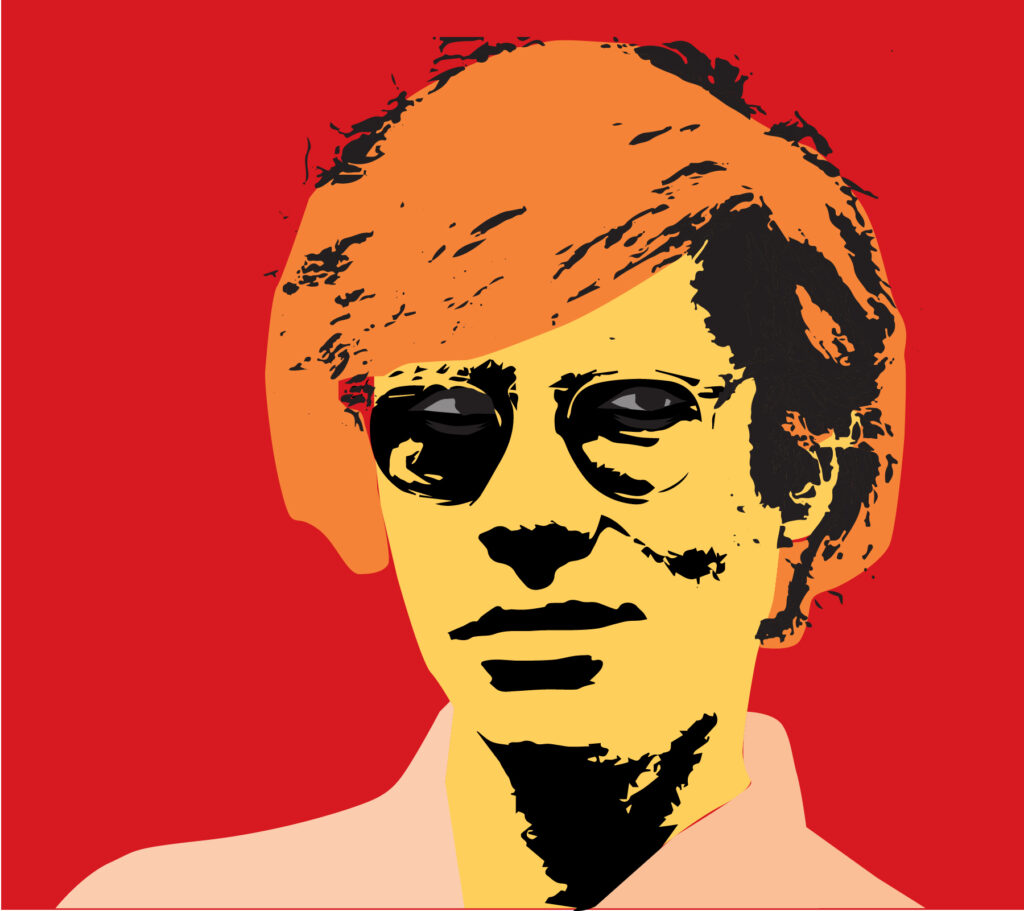
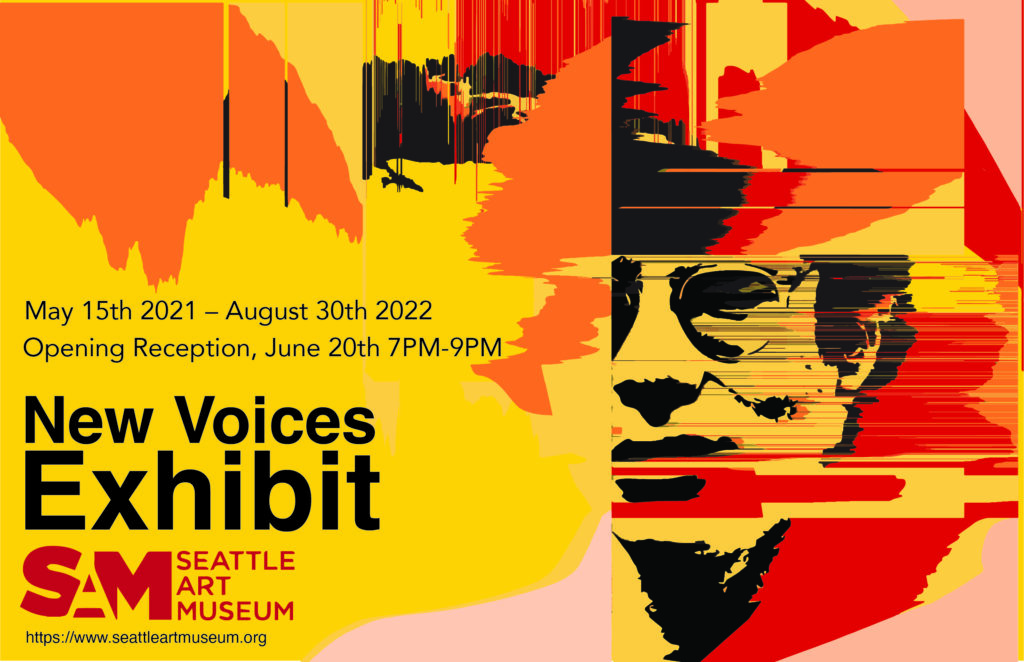
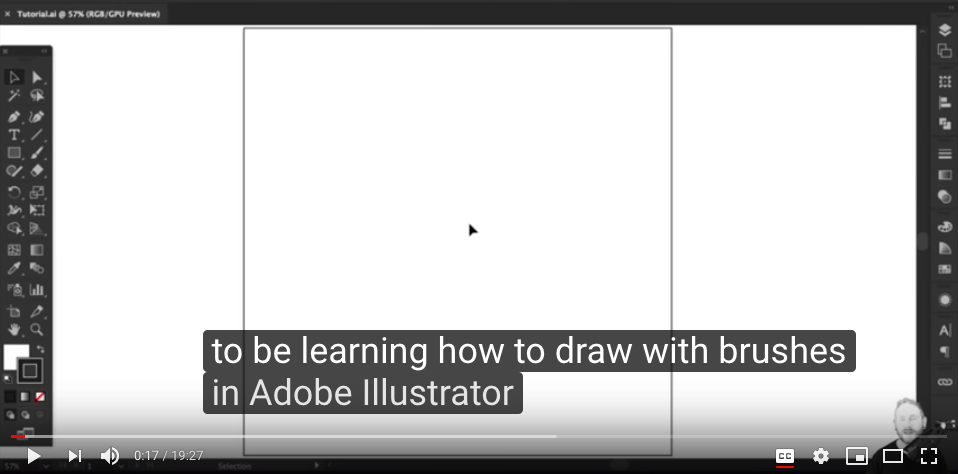
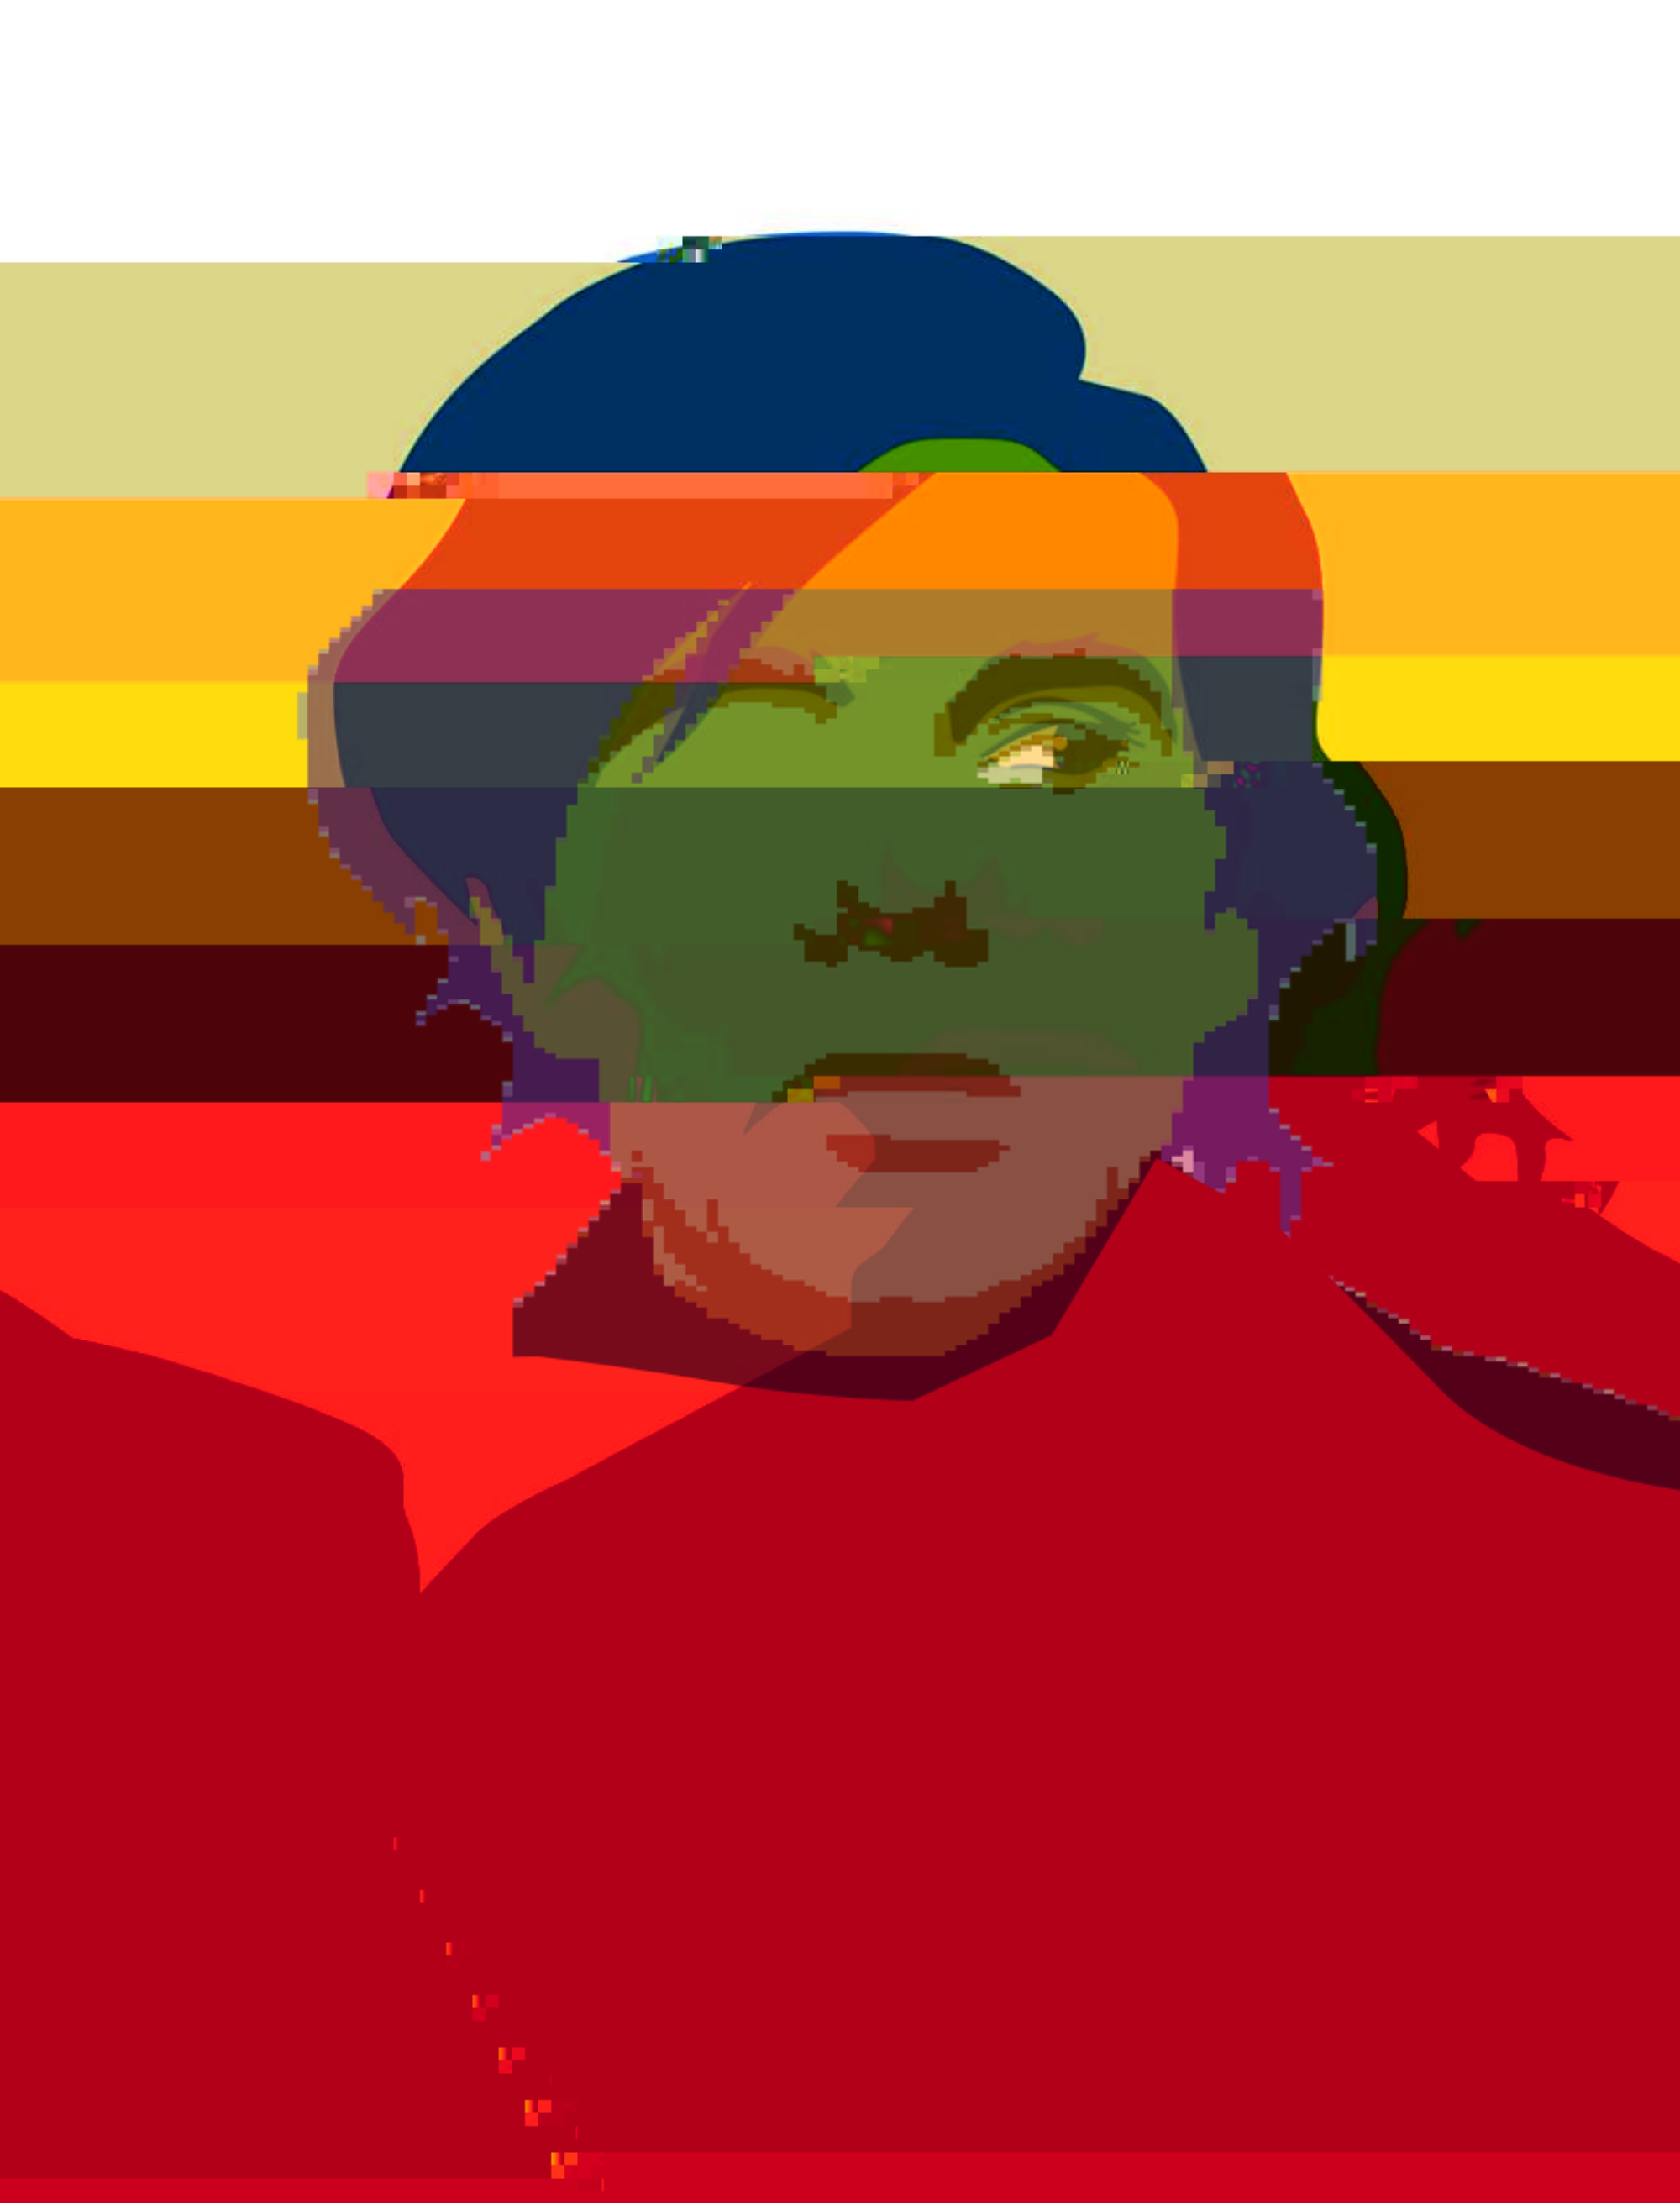
A short animations above (and linked below) are by Prof. Seslow – made in 2022 & 2023 – The process of each animation consisted of adobe photoshop and illustrator to create the individual “assets, pieces and parts” and then organized in adobe after effects to make the sequences and animation outcomes.
https://www.ryanseslow.com/simplified-chaos-on-the-landscape/
https://www.ryanseslow.com/mass-production-of-the-techno-consciousness-part-1/
https://www.ryanseslow.com/an-ocean-in-your-sky/
Assignment #4 – Student Driven Project: Short Story Animatic
Photoshop/Illustrator/After Effects
Academy Award winning Animation: (made in Photoshop)
https://creativecloud.adobe.com/discover/article/an-award-nominated-short-animation-made-with-photoshop
Project Requirements: There are going to being a few parts to this project (as usual).
Part 1 – Answer a few questions and do some basic research:
What topic or subject do you want to focus on?
You may choose to create a character and make the animation central to that character.
Where is the location of your story?
Who are the main characters?
If you are using pre-existing characters that you created, who are they?
What are they doing? Where are they going? What is the arc of the story?
Is your story a one-character story or is it multi-character?
You can not proceed to step 2 without approval of Part 1
Part 2 –
You will need to present a storyboard of the animation you plan on creating (FUN!)
Examples: https://www.adobe.com/creativecloud/video/discover/storyboarding.html
https://www.youtube.com/watch?v=BMCwtxjktRI
Your storyboard should be a minimum of 8-15 frames / shots.
It does not need to be in color, but can be if you want. Keep in mind that a storyboard only serves to show the direction and outline of the storyboard, not the full detailed outline. A storyboard is a “plan”.
Things to consider in your design:
Background images/landscaping
Characters / objects
Timing
Part 3 – The short animation is at least 10 – 45 seconds long in duration. Yes, it can loop as a GIF if you wish, or it can be a short duration “one play” video.
Students will complete this assignment using the color palette of their choice
Software: students can work with familiar design software that can produce the final animation – adobe photoshop, illustrator and after effects/
Size: The size of the completed animation is up to you but decide on the presentation orientation – will it be landscape or portrait mode? What are the common sizes for this using pixels? (1920 px V 1080 px is standard for all devices).
Submission or work in Process – Students will present their work in “sketch / concept and production / progress” in our next classes.
**Assignment Submissions Reminder – always add both your production files (.psd, .Ai , AE) as well as a final presentation format – for animation – .GIF or .MOV or .MP4 version of the assignment into your folder in our shared Google Drive (the link is located on our Canvas page in the NYIT portal)
————————————–
Assignment #5 – Final Portfolio
The full information will posted here soon on the final portfolio and presentation.
Stay Tuned!