Weeks #5 – 7 – Info & Resources
Welcome back!
(This post will expand and cover 3 class sessions – 3/4 – 3/11 – 3/25)
Forward motion on completing assignment #1 and introducing Assignment #2- most students have completed part 1 & 2 of the first assignment, we will take a look at the portrait progress and continue working on parts 2 & 3 – from designing the poster to the animation of the portraits in assignment #1.
Assignment #1 – parts 2 & 3 – New tutorials by Prof. Seslow will be shared and recorded – Students will learn more on cutting out images, working with assets, generating vector graphics, the object section tool, adobe illustrator, poster layout, typography / working with type and preparing your portrait assets for animation. Frame animation w/ photoshop & adobe after effects.
**Assignment #2 will be introduced in this blog post below – scroll down to to take a peek and jump in!
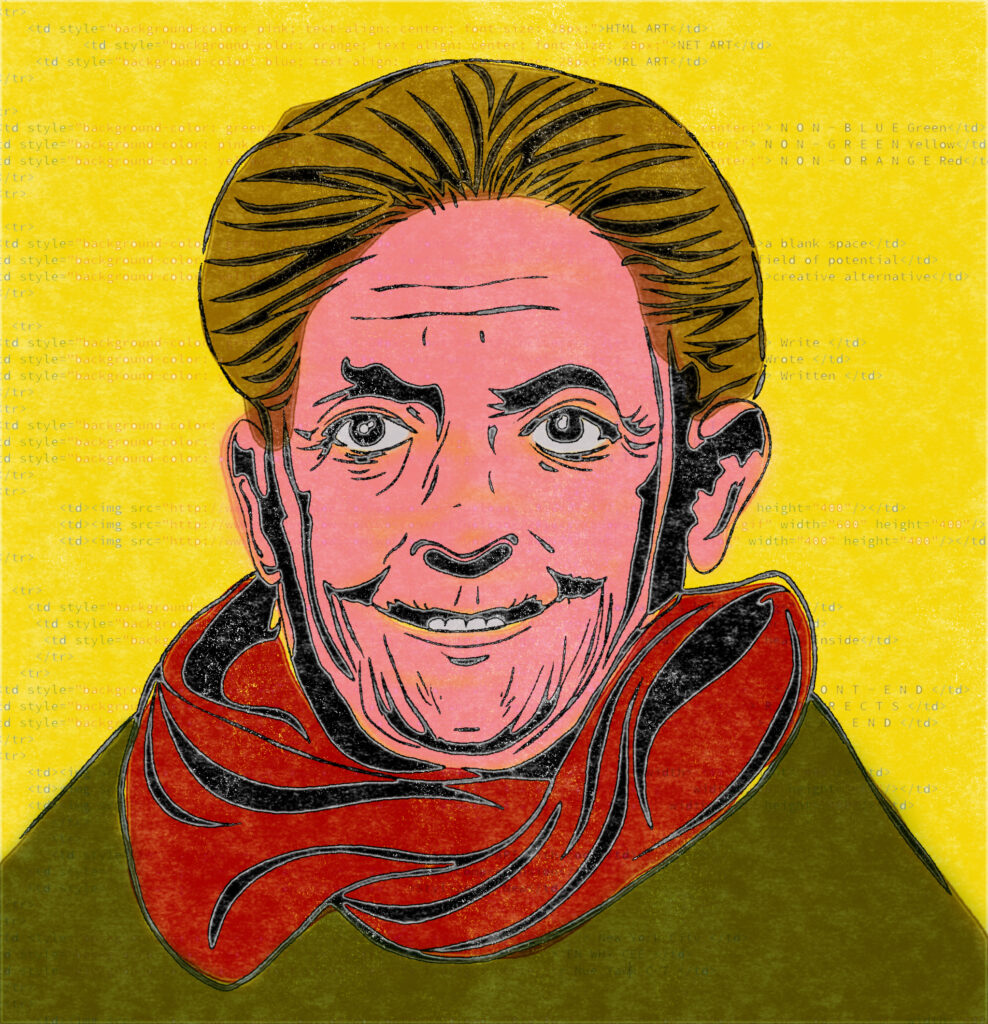
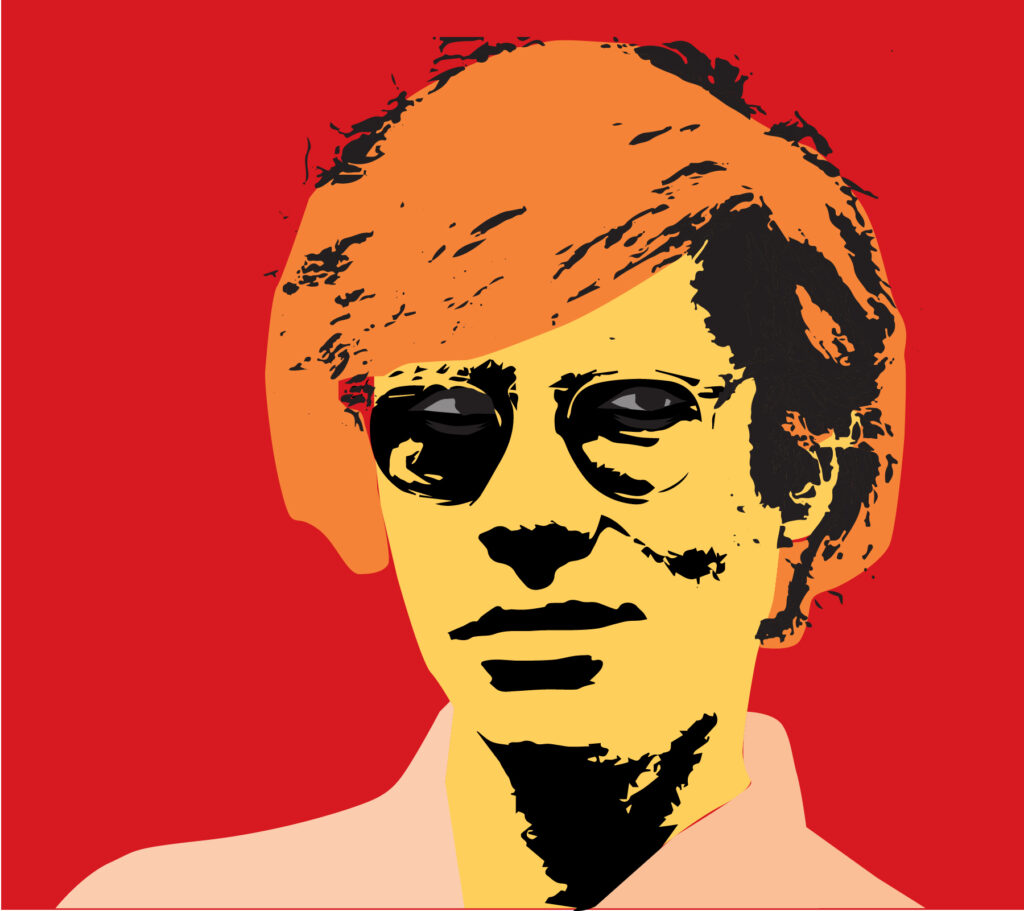
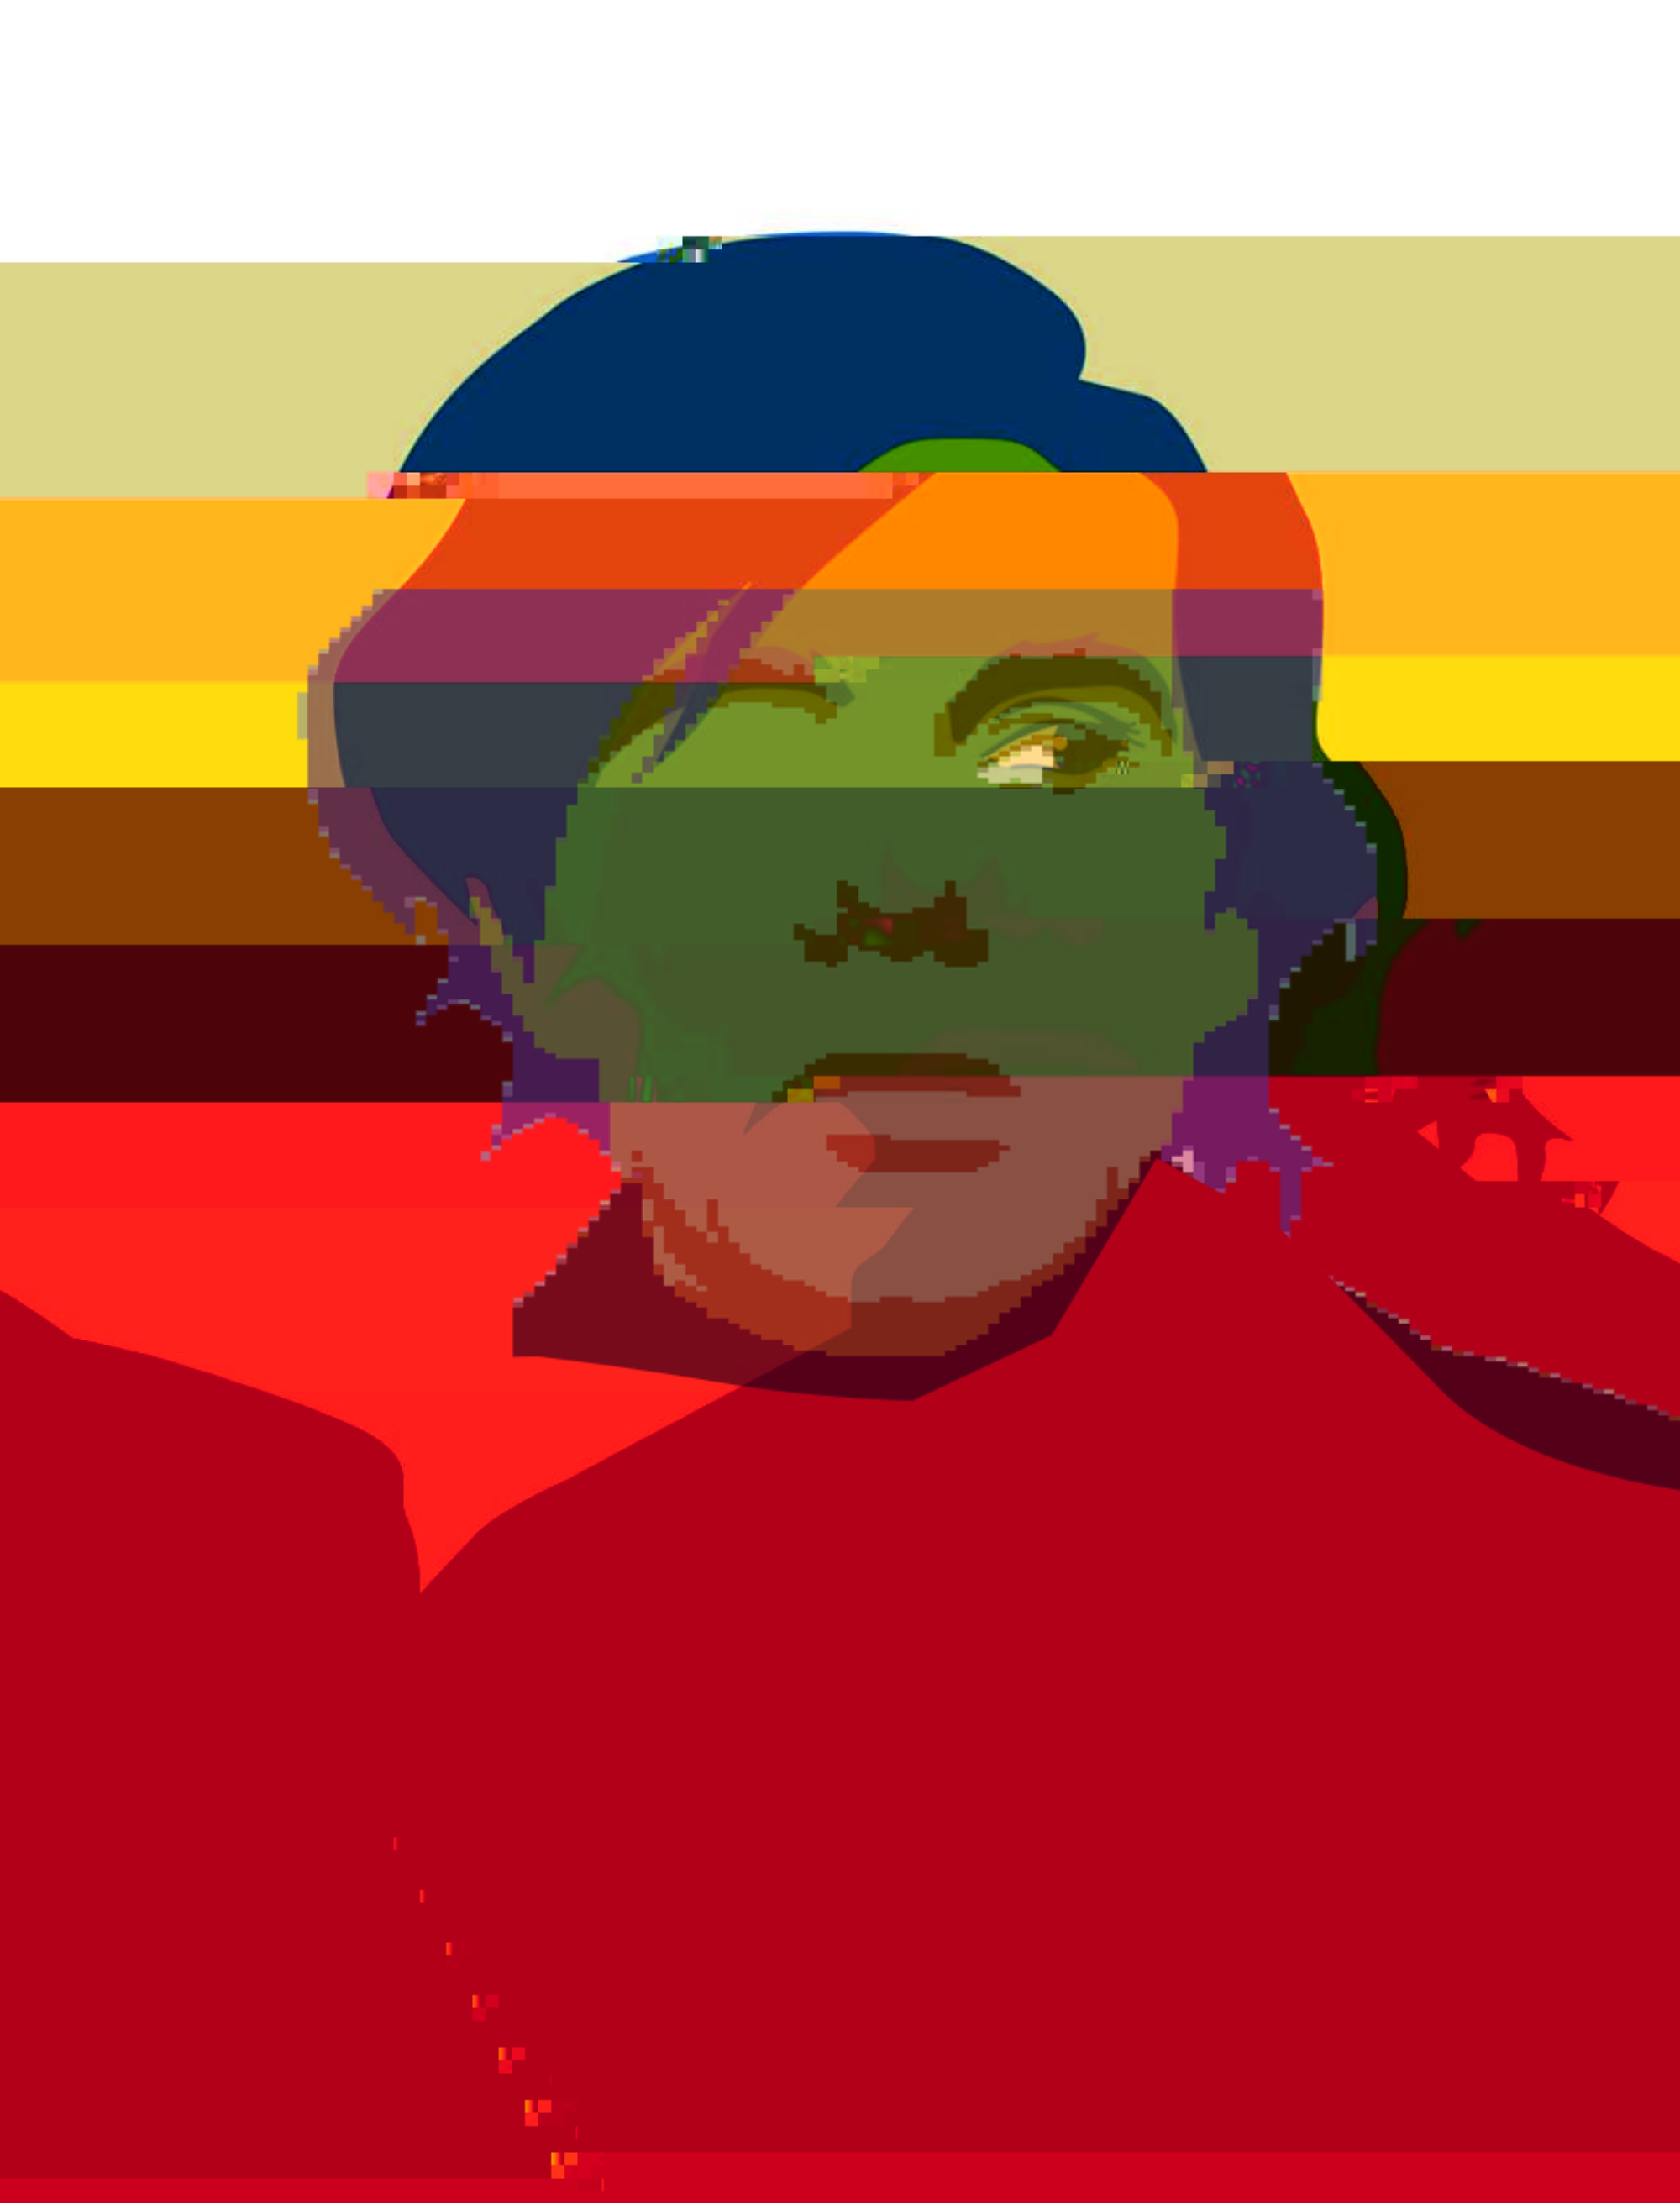
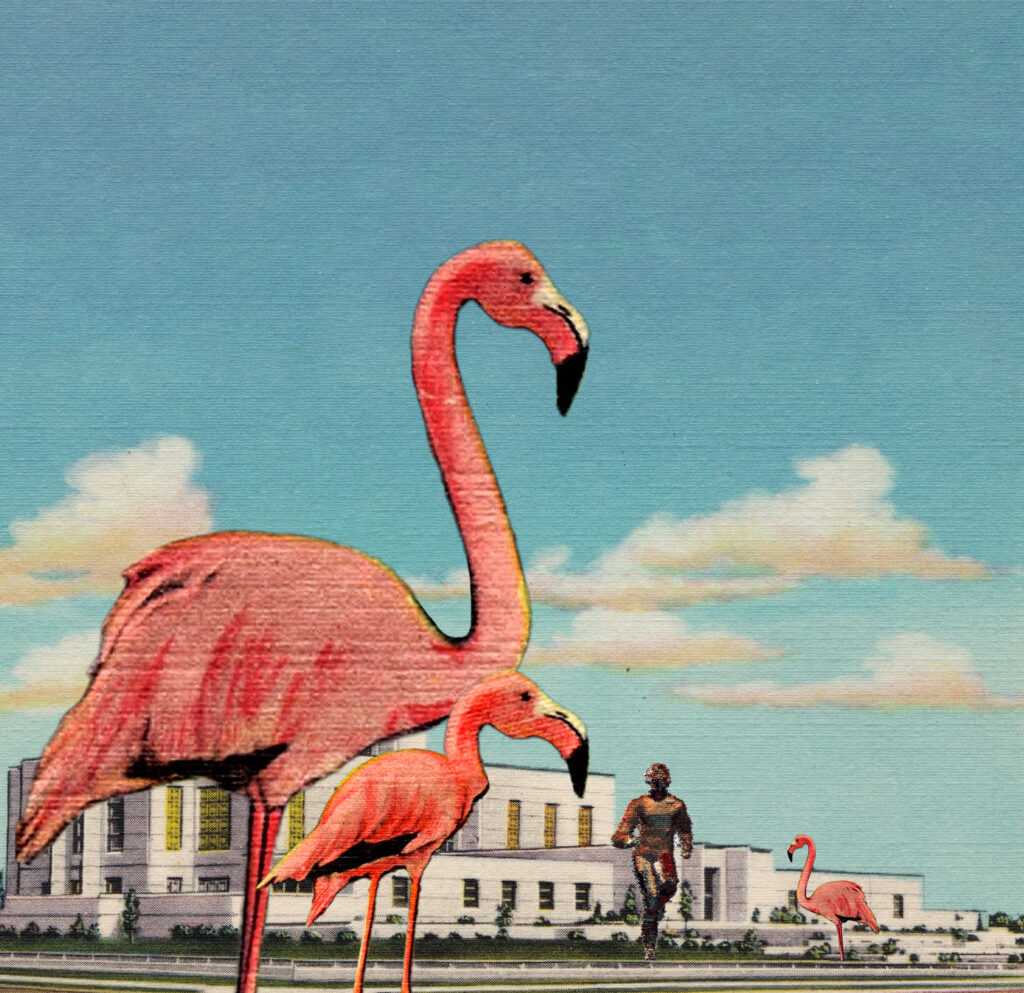
The Vector Portrait Examples above by Prof. Seslow included an extensive process using photocopied images, manipulation, collage techniques and digitizing to achieve these iterations. Did you use and apply multiple techniques for experimentation? Remember – you can always access my folder in our shared google drive for examples and project outcome variations.
Below -> here are a few ways that I organized and composed the portrait work into my posters content / typography
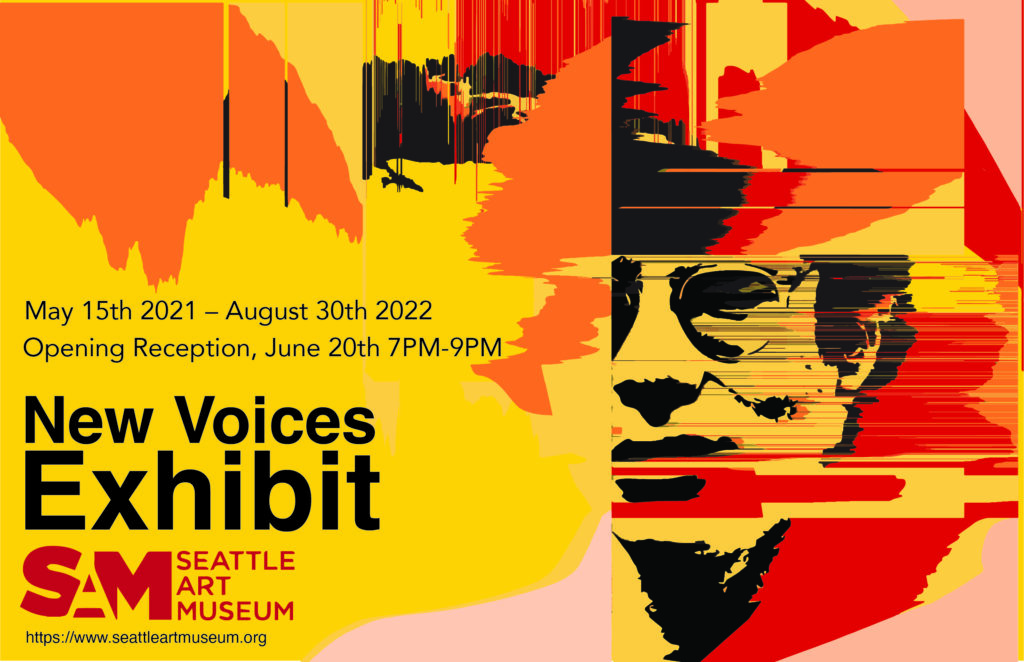
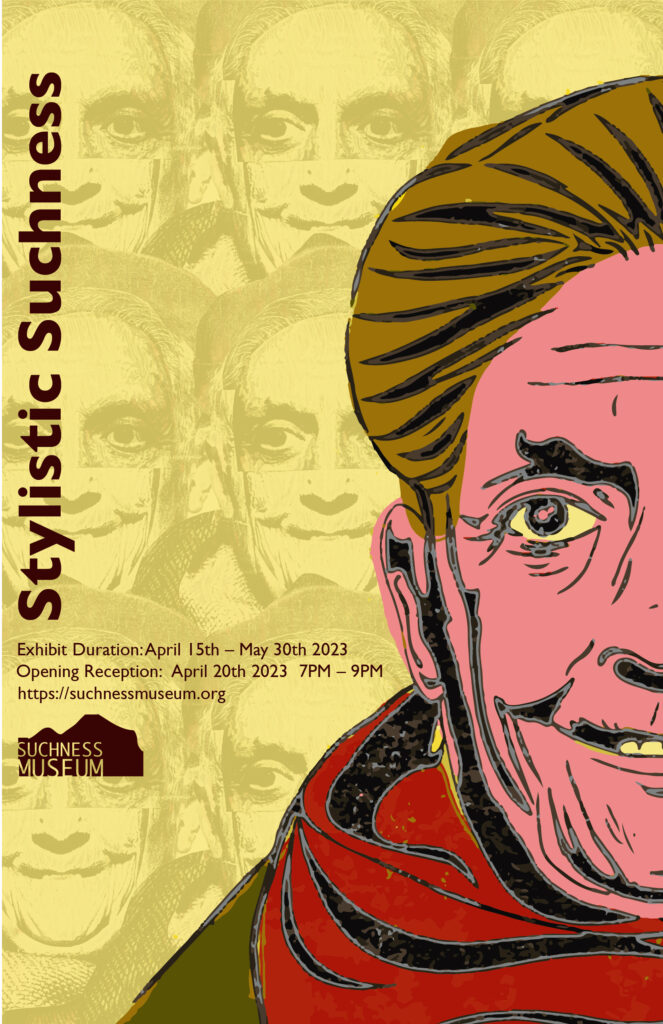
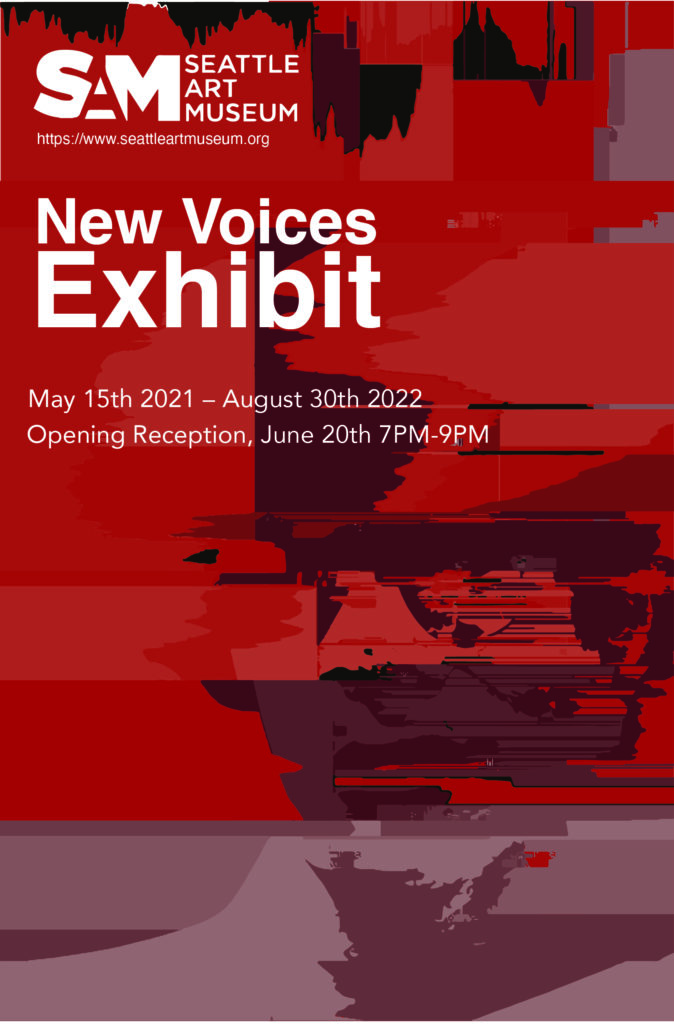

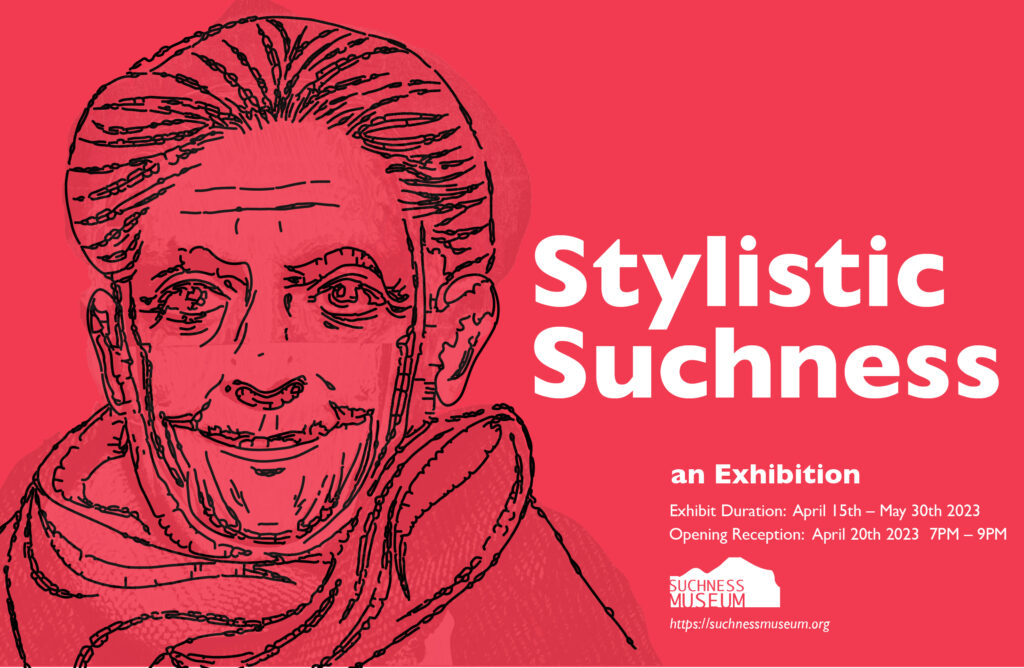
Keep riffing on those compositions, there are so many ways to experiment with type and graphics!
Lets Animate the posters with After Effects!!
Helpful Tutorials – Context & Support – Helpful!
Object Selection Tool Tutorial (Photoshop)
Frame Animation Tutorial with Photoshop
Stop Motion Animation Tutorial with Photoshop
After Effects for Beginners ->
Lets do a search for some After Effects Tutorials together in class.
The GIF the Portrait Project -> https://giftheportrait.tumblr.com/
The GIF the Portrait project is an open call for all! Do you want to participate? Click the link above to follow the rules to submit. I just submitted this example below that I made in our class. I made this example as I was animating the text for the Museum poster (I took away the text to isolate the portrait).

*************************************************
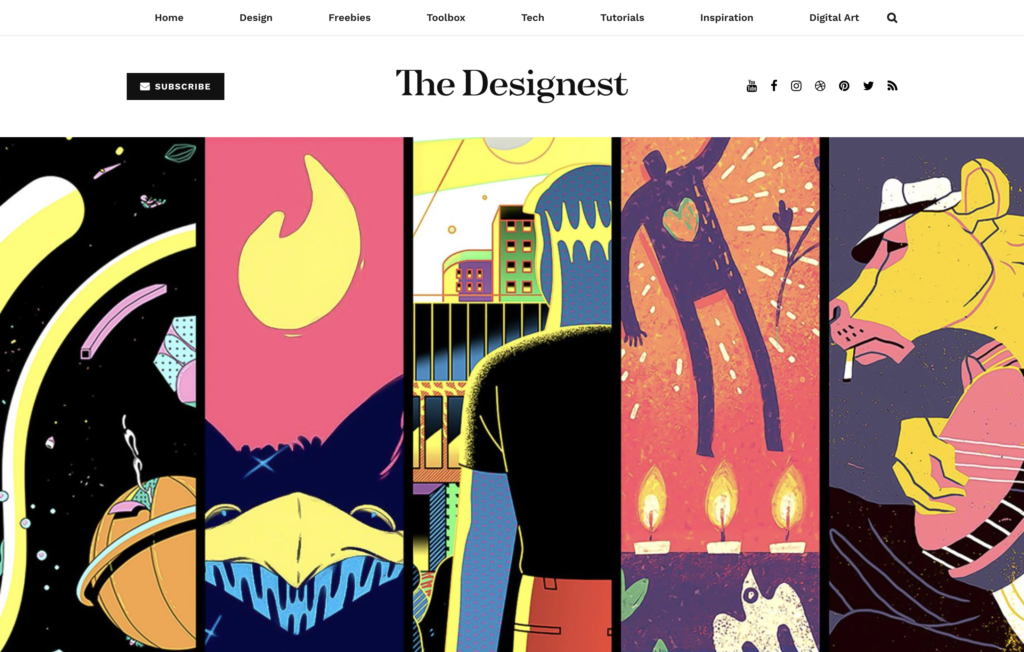
Get INSPIRED -> Digital Artists You Will LIKE!
Research research research – Keep discovering what inspires you!
*************************************************
Assignment / Project 2 –
Advertising Hack / Remix, Displacement & Promotion & Presentation
Process: We will be creating a new design campaign that will be presented as advertising in public space. The design work will hack, remix, repurpose and re-contextualize existing advertising content.
(What era of advertising do you resonate with? 1940s? 1980s? 2000s? Other?)
The remixed design work should both communicate and promote a product or a service. The product or service should be something that currently exists or has at one time existed in the “real world” as we know it. Your remixes can be “hybrids” by combining 2 or more products together, or you may choose to remix the way that the imagery is displayed. The final design work(s) should be compelling and should push the boundaries of your comfort zone. Either way, we should see a very noticeable series of iterations. Aside from producing individual designs as imagery / files we will apply our work using free product mock-ups (using Adobe photoshop) as well. We will discuss context during our class sessions. You should also plan to animate at least one of your final iterations.
Software: Students can work with familiar design software that can produce the final digital art works. This will include adobe photoshop for generating composite imagery, cutting up existing images, creating digital assets and cutting out image fragments, adobe illustrator for creating vector graphics or applying variations of type and type effects, Adobe InDesign for lay out.
Size: The size of the completed digital artworks are open. Students can decide – but I suggest considering that you work sizing is consistent for presentation purposes.
Web Examples to Explore:
Google Search results for – “1980s Advertising Posters”
Google Search results for – “Food Ads 1990s”
The Noun Project – https://thenounproject.com
Free product mock ups in PSD format – https://graphicburger.com/mock-ups/
**********************************************
Artistic Inspiration: (Discover Awesomeness)
Laci Jordan – http://www.solacilike.com/work/
MORE INSPIRATION: please watch this amazing documentary and leave your response in the comments section below.
**The Underground Sistine Chapel is a free documentary on youtube telling the story of the street artist Pascal Boyart’s construction of a modern Sistine Chapel in the heart of an old gold foundry in the suburbs of Paris, in what some would call a cut-throat area.
More Tutorials / How -To Resources:
Adobe.com also has a ton of great tutorials and many of their evangelists have youtube channels for their live streams.
Check out one of my favorite’s, Terry White here.
I also really like Paul Trani’s channel here
DANSKY is another great teacher of Adobe application techniques